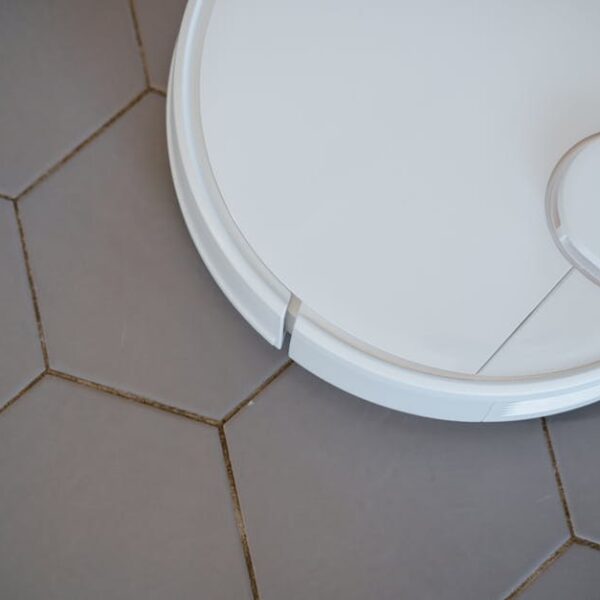
Are you noticing that your Roomba vacuum isn’t cleaning as efficiently as it used to? Maybe it’s become a little noisier, or perhaps it’s displaying error messages. All of these are tell-tale signs that your Roomba’s brushes need professional attention and proper cleaning.
When to Clean Your Roomba Brushes
A decrease in performance, unusual noise during operations, and random error messages on the robot are primary indicators suggesting that your Roomba brushes require cleaning. Over time, dust and debris can accumulate on the brushes, affecting their ability to move and clean effectively.
Cleaning frequency can vary depending on how often you run your Roomba. However, as a general rule, we recommend inspecting the brushes after every three to four cleaning cycles.
- Pro Tip: It’s good maintenance practice to inspect your Roomba scrolling brushes and clean them after every three to four cleaning cycles to ensure optimum performance.
Dismantling the Roomba for Cleaning
Dismantling your Roomba for cleaning is a straightforward task. Start by locating the side brush and release it by unscrewing the screw holding it in place. As for the main brushes, press the two buttons beside the dust bin to pop out the brush frame. Then, lift out the bristle and rubber brushes one by one, taking care to handle the devices cautiously.
For the front wheel, gently tug up on it, and it should pull free easily without needing much force. These parts collected a fair amount of dust, so make sure you clean them thoroughly. Remember to handle them delicately, avoiding any damage.
- Best Practice: Make sure to turn off the robot before you start dismantling.
Cleaning the Main Brushes
Cleaning the main brushes of a Roomba involves soaking the brushes in warm soapy water. After soaking, use a soft cloth or small brush to remove any dirt or hair stuck in the bristles. Once cleaned, rinse them with clean water and allow them to air dry completely before reassembly.
The materials you will need for this process include:
- Warm water
- Mild soap
- Soft cloth
Comparing the cleaning results of using a Roomba cleaning tool vs. a traditional comb, it was found that both tools are effective in removing hair and debris. However, the Roomba cleaning tool was more comfortable and quicker to use.
| Roomba Cleaning Tool | Comb | |
|---|---|---|
| Efficiency | High | High |
| Ease of use | High | Medium |
| Time Consumption | Low | High |
Stay tuned for the upcoming two parts on how to clean the corner brush, reassembly, and best practices to ensure optimum performance of your Roomba vacuum after each cleaning cycle. We hope this guide’s combination of detailed explanations, real-life scenarios, and best practice guidelines will work as a handy go-to reference to keep your Roomba vacuum up and running efficiently.
Cleaning the Corner Brush
Thoroughly cleaning the corner brush on your Roomba is a crucial step to help it maintain its cleaning efficiency. Begin by twisting the corner brush to release it. Then, remove accumulated dust, debris, or any pet hair wrapped around it.
Keep in mind that you should try to avoid pulling directly on the bristles, as this can cause them to warp or break. Instead, use a soft cloth or cleaning tool to loosen the debris.
- Do’s and Don’ts when cleaning the corner brush:
– Do use gentle pressure when removing the brush and cleaning it.
– Don’t forget to clean the base of the brush where it attaches to the Roomba as it often collects lint and debris.
– Don’t pull or heavy scrub the bristles as it can cause damage.
- Pro Tip: Using a hair dryer on a low setting can help to remove stubborn hairs tangled in the brush. Remember to hold it a suitable distance away to avoid damaging the brush.
Reassembly and Final Touches
It’s time to make your Roomba look like new again! Begin reassembly by placing the brushes back into their respective slots. The bristle brush goes with its green end facing the bin, while the rubber brush fits in with spatula side down. Twist the corner brush back in its place and push the front wheel back into its slot.
Use this quick checklist to confirm you have done everything right:
- The brushes are dry and reinserted correctly.
- The front-wheel is snapped back into place.
- The corner brush is rotated and locked into position.
- The dust bin is replaced correctly.
- Best Practice: Perform a quick test run after each cleaning session. This can help you to identify any operational problems that could have resulted from the reassembly, ensuring your Roomba is in its best working condition.
So, there you have it! Keep this guide at hand and use it as a comprehensive reference each time you clean your Roomba. With these practical, step-by-step photos and instructions, you’ll have your Roomba vacuum looking brand new in no time. Enjoy a cleaner home and a cleaner Roomba, courtesy of regular maintenance!
Key Takeaway:
- The Roomba’s cleaning efficiency, noise while operating, and display of error messages are indicators that the device needs cleaning.
- Dismantling the Roomba involves removing the main brush, corner brush, and the front-wheel. The parts used should be handled with care to avoid any damage.
- The main brushes and bristle brush of the Roomba should be cleaned using warm soapy water, then rinsed with clean water and allowed to air dry before reassembly. The Roomba cleaning tool works more efficiently than a comb in this process.
- The corner brush should be cleaned thoroughly with a soft cloth, taking care not to pull or heavily scrub the bristles as it can lead to damage.
- The device needs to be reassembled properly after cleaning. The correct re-inserting of brushes, proper placement of the front wheel, the correct rotation of the corner brush, and the proper fixing of the dust bin are all checked off the list.
Maintaining the cleanliness of your Roomba brushes ensures efficient dust and debris removal and overall better performance of your Roomba. Remember to inspect the brushes after every 3-4 cleaning cycles and to use warm soapy water for effective cleaning. Enjoy the ease of cleaning with your Roomba, given, it is well maintained.
FAQs
Q: How often should I replace the brushes on my Roomba?
A: It’s recommended to replace the brushes on your Roomba every 6-12 months, depending on usage and how well they are maintained.
Q: Are there any signs I should look out for that suggest that the brushes need replacement rather than cleaning?
A: If your Roomba’s efficiency doesn’t improve even after thorough cleaning of the brushes, it might be time to consider brush replacement.
Q: Can I use any soap to clean the Roomba brushes?
A: It is recommended to use a mild soap while cleaning the Roomba brushes to prevent any possible damage.
Q: Can I machine wash the Roomba brushes?
A: No, it’s not advisable to machine wash the Roomba brushes. The intense agitation of a washing machine can potentially harm the brushes.
Q: How can I clean the corner brush if it’s damaged or bent?
A: If the corner brush is severely damaged or bent, it’s best to replace it. Attempting to clean a damaged brush can further impair its performance.
Share this useful guide on cleaning Roomba brushes with others and explore more informative posts on our website. Happy cleaning!