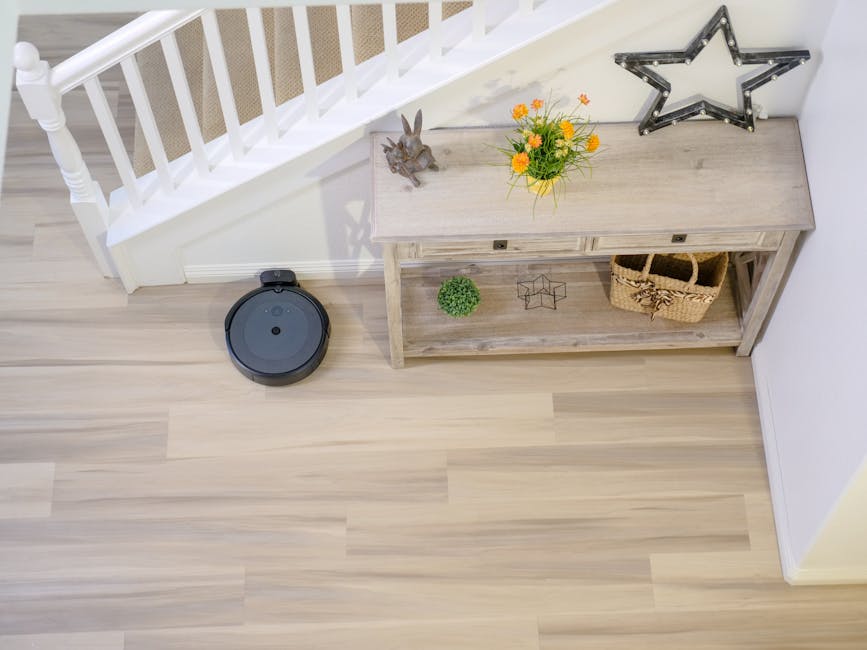
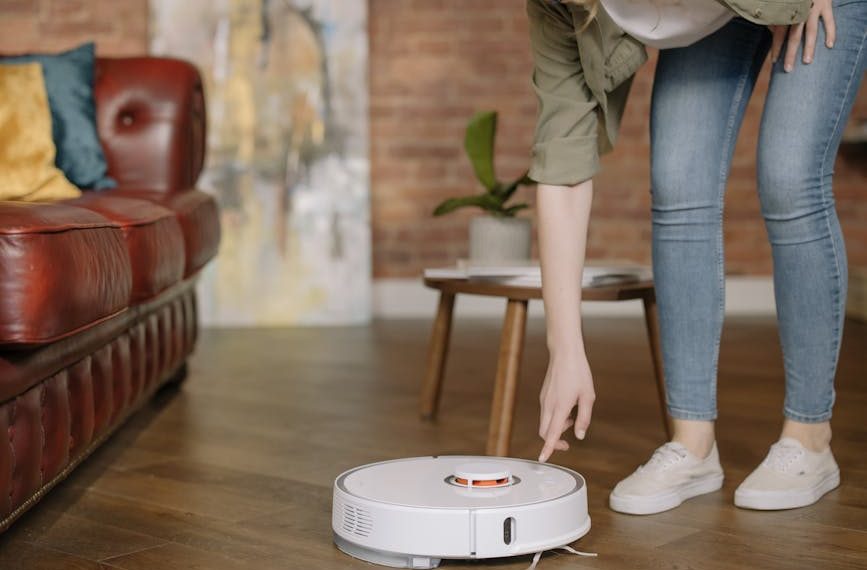
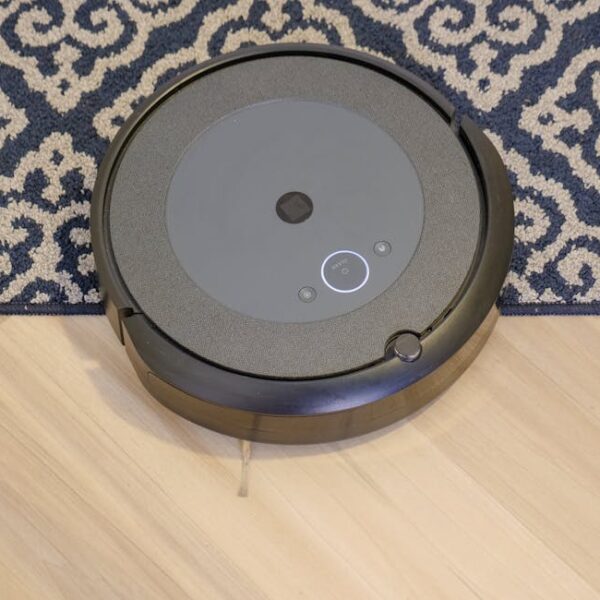
In the world of autonomous home cleaning, the Roomba has revolutionized the way we maintain our living spaces. However, for these robotic vacuum cleaners to function effectively, routine cleaning of both their sensors and charging contacts is crucial. These two components are essential for a Roomba’s operation – sensors ensure that Roomba navigates your home efficiently, while charging contacts are vital for power delivery. Unfortunately, a buildup of dirt or grime can compromise these components’ functionality, leading to subpar cleaning performance or issues with charging.
Understanding the Importance of Cleaning Roomba Sensors and Charging Contacts
The sensors on your Roomba play a critical role in guiding the device around your home. They weave an intricate web of invisible paths that help your Roomba avoid obstacles and cliffs, such as stairs. When these sensors become dirty, they may misread your home’s layout, causing your Roomba to bump into furniture or, worse, tumble downstairs.
Similarly, charging contacts filled with dust and debris can interfere with power transfer, causing your Roomba to charge inefficiently or not at all. Recognizing when your Roomba needs a clean can be as simple as noting its cleaning performance or charge regularity. Is the vacuum missing spots it didn’t before? Does it need frequent re-docking to recharge? It’s time to clean!
Materials Needed for Cleaning Roomba Sensors and Charging Contacts
When it comes to cleaning your Roomba, you don’t need a lot of specialized tools. Here’s a simple checklist to help you gather all the necessary items:
- Soft brush
- Air Duster
- Portland Protect (or any gentle electronic cleaner)
- Soft dry cloth
Each tool has its purpose. The soft brush, for instance, works best for manually removing debris from charging contacts and brushing away grime around sensors. An Air Duster can reach those stubborn areas and provides a blast of air to effectively dislodge dust particles.
Portland Protect comes in handy when you want to clean and protect your charging contacts from corrosion or rust. Finish it all off with a soft dry cloth to wipe away any remaining particles or cleaning solution.
How to Clean Roomba Sensors Safely and Efficiently
Cleaning your Roomba’s sensors need not be a complicated task. The key is to be gentle. Here’s a simple step-by-step guide:
- Disable the Roomba and unplug any cables attached to it.
- Locate the sensors. Typically, these are the clear plastic parts on your Roomba. You may refer to your Roomba’s manual to find the precise location.
- Gently brush away the dirt from the sensor areas with the soft brush.
- For stubborn dirt, use a can of Air Duster to blow away deeply lodged dust.
Best practices recommend not using water or wet wipes to clean the sensors as moisture might interfere with their functionality. Remember, gentle strokes are better than vigorous ones—we’re cleaning, not scrubbing!
Pro tip: Make sure to hold the Air Duster upright, angled slightly down towards the sensors. This position ensures the dust particles are blown out and away from your Roomba’s interior.
Cleaning Roomba Charging Contacts for Optimal Performance
Debris covered charging contacts can lead to inefficient charging and operation of your Roomba. Here’s how you can clean them effectively:
- Locate the charging contacts. These are usually gold plates on the underside of your Roomba.
- Use the soft brush to gently remove any visible dust or grime.
- Spray a bit of Portland Protect on a soft cloth and touch it lightly to the contacts.
- Allow it to sit for 1-2 minutes and then gently wipe it off.
Although it may be tempting, avoid scraping off stubborn dirt or using harsh chemicals. This could harm the delicate contact point and may lead to more severe charging issues in the future. Instead, if the grime is plied-on, consider seeking professional help.
Maintaining a Cleaning Routine for Your Roomba
Maintaining cleanliness of sensors and charging contacts is essential. Regular cleaning once every two weeks can prolong the lifespan of your Roomba and keep it operating efficiently. If it sees heavy use—like daily or in a home with pets—it may require a more frequent cleaning schedule.
Here are some best practices for maintaining a cleaning routine:
- Establish a cleaning schedule. You might choose to clean your Roomba every other Sunday, for example.
- Make it part of your regular cleaning routine. Clean your Roomba materials while doing other household chores.
- After each cleaning, inspect the Roomba’s components for any wear or tear. Consider periodic maintenance from professional services every 6-12 months.
Pro tip: Keep all your Roomba cleaning tools and materials together in a small, easily accessible kit. This way, you’ll have everything ready when it’s time for a quick clean-up.
Here’s to keeping your Roomba doing its best work—all while you sit back and relax!
Key Takeaway:
- The sensors and charging contacts on a Roomba play an essential role in its operation and require regular cleaning.
- Recognizing when your Roomba needs a clean can be as simple as noting changes in its cleaning performance or charge regularity.
- The correct tools and materials are needed for the safe and efficient cleaning of Roomba sensors and charging contacts.
- Gentle techniques should be employed to clean your Roomba’s sensors and charging contacts properly.
- Establishing and maintaining a cleaning routine is key to ensuring your Roomba’s longevity and optimal performance.
It’s incredible how a little maintenance can keep your Roomba performing at its best. By making cleaning a part of your regular routine, you ensure a longer lifespan for your Roomba. Plus, having a clean Roomba means that it can do a better job of cleaning your home. So take control, and keep those sensors and charging contacts clean!
How Can Properly Maintaining the Roomba Battery Improve Sensor Cleaning?
Proper maintenance of your Roomba battery is crucial for optimal performance. A well-maintained battery ensures your Roomba operates efficiently, allowing the sensors to function effectively during cleaning cycles. To maximize your device’s lifespan and cleaning capabilities, learn how to replace your roomba battery when necessary.
FAQs
Q: How often should I clean the charging contacts of my Roomba?
A: Ideally, Roomba’s charging contacts should be cleaned once every two weeks. However, if your Roomba sees heavy use, like daily or in a house with pets, you might want to clean it more frequently.
Q: Can I use a wet cloth to clean my Roomba sensors?
A: No, avoid using a wet cloth or water to clean the sensors as moisture might interfere with their functionality. Instead, use a gentle brush or an air duster to blow away the dust.
Q: What if I can’t remove the grime from the charging contacts of my Roomba?
A: If the grime is too stubborn, do not scrape it off as this might harm the delicate contact point. Consider seeking professional help in such a case.
Q: Apart from cleaning, how else can I maintain my Roomba’s performance?
A: After each cleaning, inspect the Roomba’s components for any wear or tear. Consider periodic maintenance from professional services every 6-12 months.
Q: What should I do if my Roomba is not navigating correctly after cleaning?
A: If your Roomba is not navigating correctly after cleaning, it might be a sign of sensor damage. Consult the Roomba’s manual or contact an approved customer care line for further assistance.
Remember, sharing is caring—spread the word about Roomba cleaning to other Roomba owners, and explore more informative posts on our website.
