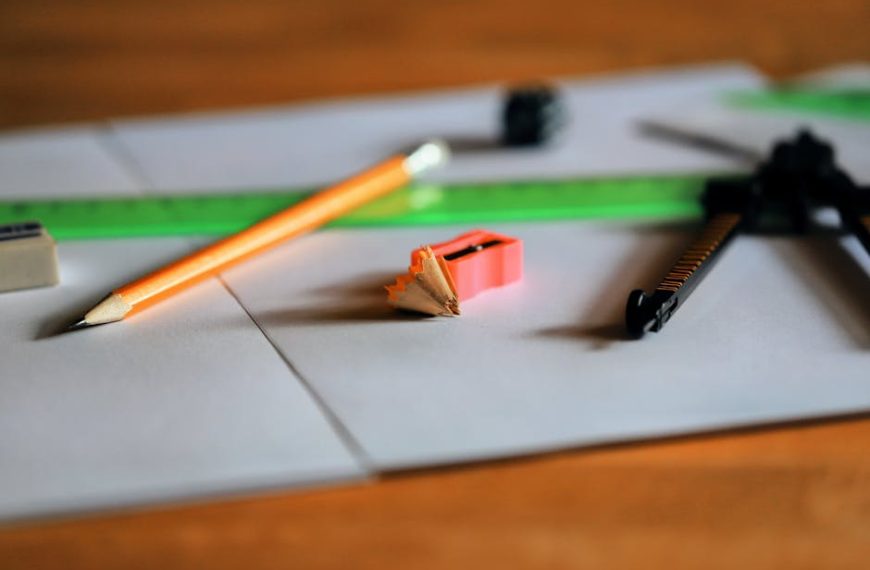
Keeping your Shark Robot vacuum in a pristine condition isn’t a Herculean task; it simply requires careful attention and regular care. The first step towards maximizing the lifespan of your vacuum is ensuring you have the necessary tools on hand. These include a small brush for detailed cleaning, a clean, soft cloth for wiping, and replacement filters in case the old ones are beyond redemption.
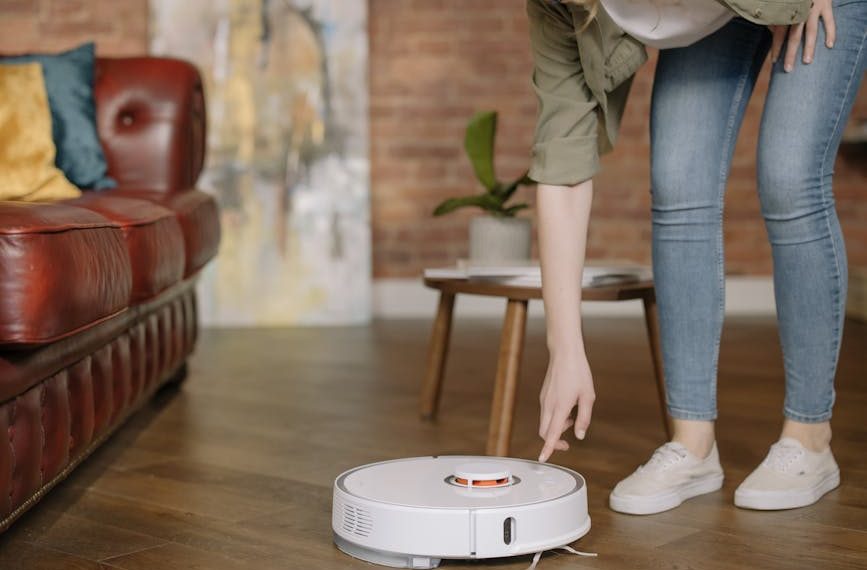
Pro Tip: Make sure you clean your Shark Robot Vacuum in an environment where potential messes are manageable – your garage or backyard works great.
Step One: Powering Down and Disconnecting the Vacuum
Before you start, it’s crucial to prioritize safety above all else. Therefore, always remember to unplug and turn off the vacuum cleaner before you begin cleaning. Don’t merely shift it to standby; make sure power is completely shut off to prevent any potential accidents.
Weighing between standby mode and complete power-down is a moot point; while standby might come across as a quicker option, a complete shutdown ensures full safety:
| Standby Mode | Power Off | |
|---|---|---|
| Safety | Minimal | Optimal |
| Convenience | High | Medium |
Step Two: Cleaning the Dust Bin
The dust bin is a key player in the functioning of your Shark Robot Vacuum. Keeping it clean not only guarantees better cleanliness but also optimizes the performance of your vacuum cleaner. The process is fairly simple- open the dust bin, empty it, give it a good wipe down (focusing on corners and narrow areas), and finally, put it back in place.
Pro Tip: Depending on the frequency and nature of use, it is advisable to clean the dust bin once every week to maintain a high level of performance.
Step Three: Cleaning the Filters
The filters in your Shark Robot vacuum have a crucial part to play in maintaining the air quality in your home. Therefore, keeping them clean is a must. Depending on the condition of the filters, you might need to either gently clean them off dust or replace them with fresh ones.
The decision between cleaning and replacing filters depends largely on their condition:
| Cleaning Filters | Replacing Filters | |
|---|---|---|
| Cost | Low | Higher |
| Effectiveness | Depends on Filter Condition | Guaranteed |
Step Four: Cleaning the Brushes
Your Shark Robot Vacuum’s brushes are constantly in the frontline, helping you strive towards a cleaner home. Therefore, they are prone to accumulating dirt and debris. Take the brushes out while making sure you do not damage their fragile parts, gently clean them using a small brush, then put them back carefully.
Pro Tip: Regular checking of brushes while cleaning will help you identify any worn-out brushes needing replacement.
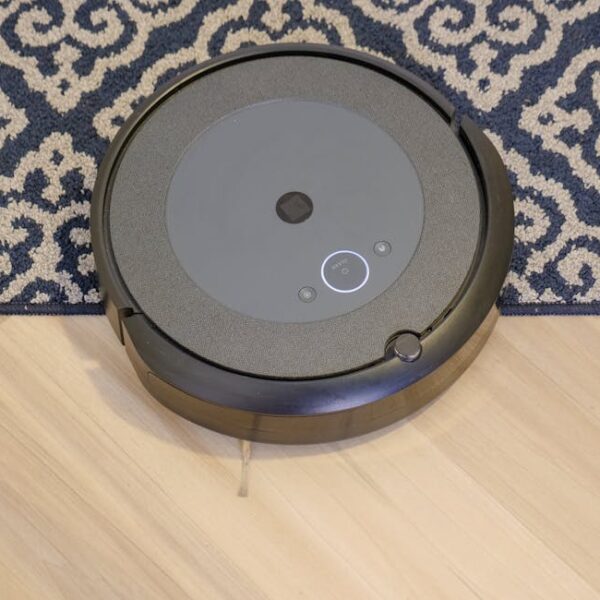
Step Five: Cleaning the Sensors
Sensors are the eyes of your Shark Robot Vacuum, guiding it around your home. This makes their cleaning extremely important. Wipe the sensors gently with a clean cloth, ensuring not to scratch or damage them.
Pro Tip: Never use harsh cleaners or excessive liquid for cleaning the sensors as this might lead to potential damage. Stick to a dry, soft cloth for best results.
Preparing to Clean Your Shark Robot Vacuum
Proper preparation is the first step to effectively clean your Shark Robot Vacuum. It’s crucial to have everything you need close by to ensure the process goes smoothly.
Here’s a checklist of what you’ll need:
- A small brush
- Clean cloth
- Replacement filters (if necessary)
Pro tip: Choose a well-lit location with enough space to clean your Shark Robot Vacuum. This prevents any mess and makes it easier to spot any small parts.
Step One: Powering Down and Disconnecting the Vacuum
For your safety, make sure the vacuum is both turned off and unplugged before you start cleaning. This ensures there’s no risk of shock.
| Powering Off | Standby Mode |
|---|---|
| Guarantees Safety | Risk of accidental activation |
Step Two: Cleaning the Dust Bin
Regular cleaning of the dust bin helps prolong the lifespan of your Shark Robot Vacuum. Here’s how you can do it:
- Detach the dust bin.
- Empty the debris into a trash bin.
- Use a small brush to clean hard-to-reach areas.
- Wipe clean with a dry cloth.
Pro tip: It’s recommended to clean the dust bin after every use – this ensures optimal performance for the next cleaning cycle.
Step Three: Cleaning the Filters
Filters perform the critical role of trapping fine dirt particles. Here are the steps to clean them:
- Open the dust bin to access the filter.
- Remove the filter carefully
- Gently tap the filter over a trash bin to remove loose dirt.
| Cleaning Filter | Replacing Filter |
|---|---|
| Economical | More expensive |
| May not completely remove all dirt | Ensures optimal filtration |
Step Four: Cleaning the Brushes
Brushes plays a vital role in picking up dirt from your floor. They often get tangled with hairs and threads. Here’s how to clean them:
- Detach the brushes.
- Remove any hair or debris entangled.
- Wipe clean with a cloth.
Pro tip: Regular brushing maintenance extends the lifespan and enhances their cleaning effectiveness.
Step Five: Cleaning the Sensors
Sensors guide your Shark Robot Vacuum around your home. Here’s how to clean them:
- Locate the sensors.
- Gently wipe them with a soft cloth without any liquids.
Pro tip: Never use any wet cloth or cleaners – it can damage the sensors.
Step Six: Wiping Down the Exterior
A clean vacuum is appealing and ensures optimal performance. Here’s how to do it:
- Wipe the surface of the vacuum with a clean cloth.
Pro tip: Avoid using abrasive cleaners on the exterior to maintain its shine.
Step Seven: Final Check and Reassembly
Before you reassemble the vacuum, give it a final look to ensure all parts are clean. Follow the product manual to put it back together correctly.
Pro tip: Test your freshly cleaned vacuum in a small area to ensure it’s working correctly before fully using it again.
Key Takeaway:
- Preparing properly and having the right tools is the first important step in cleaning a Shark Robot Vacuum.
- Focusing on the dust bin, filters, brushes, and sensors will ensure optimal performance and longevity of the device.
- Always ensure that safety measures like unplugging and powering down the vacuum are observed.
- Both cleaning and replacement of filters and brushes are necessary, depending on their condition.
Maintaining your Shark Robot Vacuum may seem tedious, but with clear directions and routine care, it can be managed with ease. Following these steps will help prolong your vacuum’s lifespan, guarantee optimal performance, and ensure a clean and pleasant living space.
FAQs
Q: How often should I clean my Shark Robot Vacuum?
A: The frequency in which you clean your vacuum depends on its usage. For optimal performance, it’s recommended to clean your vacuum once a week.
Q: Can I use a wet cloth to wipe the Shark Robot Vacuum’s exterior?
A: It’s advisable to use a dry cloth for cleaning the exterior to avoid damaging the vacuum.
Q: Is it necessary to power off and unplug the vacuum before cleaning?
A: Yes, it’s absolutely necessary for safety reasons to power off and unplug the vacuum before conducting any cleaning or maintenance.
Q: What should I do if the brushes or filters are worn out?
A: If the brushes or filters of your Shark Robot Vacuum are worn out, they should be replaced to ensure the vacuum continues to function properly.
Q: Can I use any cleaning solution on my Shark Robot Vacuum?
A: It’s advisable to avoid using harsh or abrasive cleaning solutions as these may damage the vacuum. It’s best to stick to a dry cloth and small brush for cleaning.
We hope you found this guide useful. Share it with others who may benefit and explore more posts on our website for further insights and help.