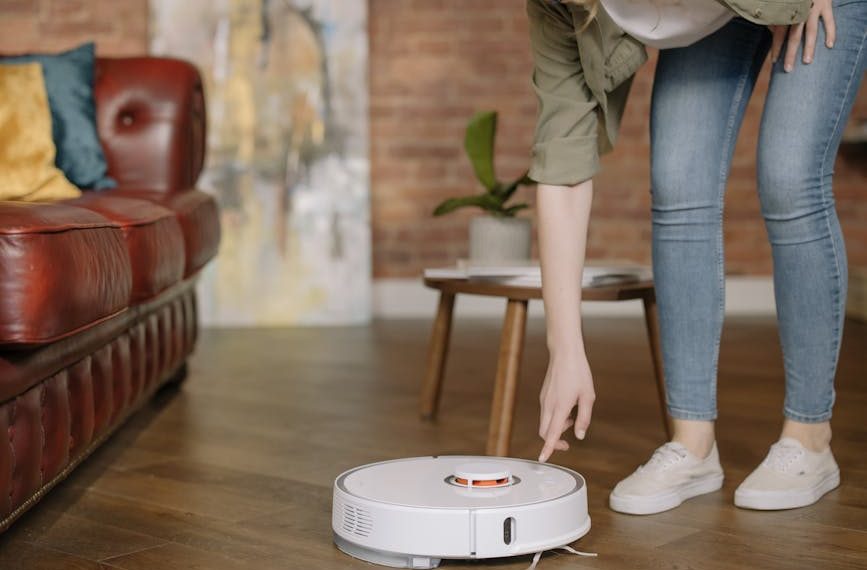
Robotic vacuums have made our lives significantly easier by doing one of the most tedious household chores for us. Among the top brands for these clever little machines, Eufy stands out due to its cutting-edge technology and durability. One of the key components of this vacuum is the Eufy side brush motor, and similar to all moving parts, it eventually breaks down and requires replacement. Let’s take a look at how to handle this process, from understanding the significance of this element, recognizing potential issues, the step-by-step replacement guide, and adhering to correct maintenance post-replacement.
Understanding the Significance of Eufy Side Brush Motors
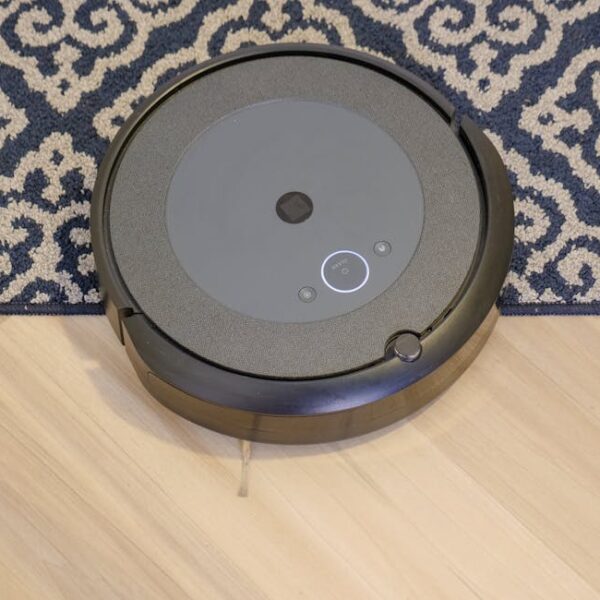
Eufy side brush motors are the heart of your vacuum’s cleaning capabilities. These components are integral for daily operation, rotating the side brushes which sweep debris from your floors and into the path of the main brush. Without it, your Eufy vacuum would be far less effective. Keeping it in optimal condition ensures your floors stay spick-and-span, and your Eufy works longer.
Common functions of the side brush motor include:
• Sweeping debris into the robovac’s path.
• Operating the side brushes for comprehensive cleaning.
• Keeping rollers moving for agility and maneuverability.
Regular maintenance of the Eufy side brush motor is crucial, as it extends the lifespan and maintains the efficiency of your robotic vacuum. Cleaning and checking the motor should be part of your regular care routine.
Recognizing Possible Issues with Eufy Side Brush Motors
Though Eufy side brush motors are designed for durability, they are not immune to wear and tear or damage. Recognizing when your side brush motor is deteriorating means either rectifying the situation yourself or seeking professional assistance earlier and prevent extensive damage.
Common signs of a failing Eufy side brush motor can include:
• Ineffective cleaning or debris not swept into the vacuum’s path.
• Side brushes not rotating or doing so erratically.
• Unusual noises from the motor area.
A pro tip to remember here is knowing the difference between a minor fixable issue and a critical problem. For example, if your brushes aren’t rotating properly, it might often be resolved by just cleaning them. If the problem persists, however, it’s time for a replacement.
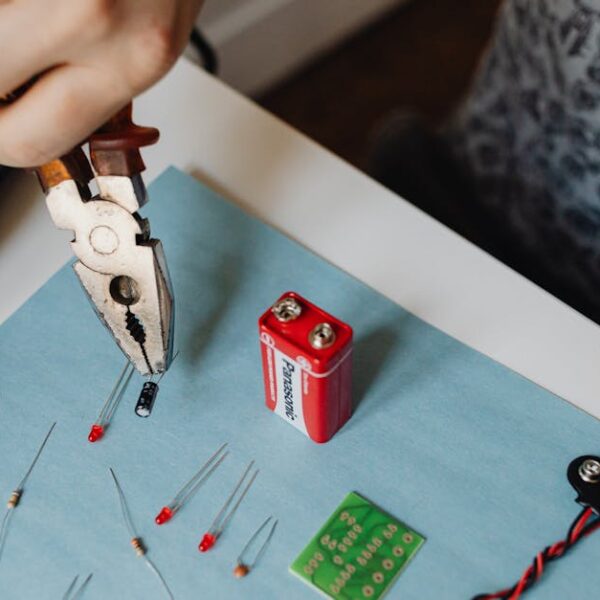
Gathering Required Tools and New Side Brush Motors
When it comes to replacing the Eufy side brush motor, a few basic tools and a new compatible side brush motor are all you need. The compatibility of the brush motor is essential – remember, not all models use identical parts.
You’ll need:
• Compatible Eufy side brush motor.
• Philips-head screwdriver.
• Optional: Robotic vacuum cleaning tool.
Continuing with the step-by-step guide to replacing the Eufy side brush motors in the next part of the article.
Step-by-step Guide to Replacing Eufy Side Brush Motors
Replacing the Eufy side brush motor needn’t be a daunting task. Just follow the steps provided below carefully, keeping safety in mind as you work. For visual learners, here’s a handy video tutorial to guide you through the process.
Here’s your step-by-step breakdown:
- Turn off and unplug the Eufy vacuum.
- Remove the side brush by turning it counterclockwise.
- Use the screwdriver to unscrew the motor housing.
- Gently lift the motor out of its casing, ensuring not to pull any attached wires.
- Disconnect the old motor from the power cables.
- Connect the new motor to the power cables, making sure to match color connectors.
- Gently insert the new motor into the casing and screw it back into place.
- Attach the new side brush by turning it clockwise.
- Reconnect the vacuum and test the new motor by running the vacuum.
⚠️ Pro tip: Always ensure your vacuum is unplugged before beginning your repairs to protect yourself from potential electrical shock. Also, be gentle when handling the wires connected to the motor, as excessive force might cause damage.
Ensuring Proper Functionality and Maintenance Post-Replacement
Once the new motor is installed, your primary task is to ensure that the motor is functioning correctly and efficiently. Turn your Eufy on and observe whether the side brushes rotate smoothly and consistently, making sure to verify that debris is being swept effectively.
Post-replacement care includes:
• Periodic cleaning of side brushes.
• Remove any tangled hair or threads from around the brushes.
• Regularly check the motor for any unusual noise or signs of wear and tear.
Remember, extending the lifespan of your new Eufy side brush motor is all about diligent maintenance and consistent cleaning. These practices ensure smooth working and optimum cleaning.
And that’s it! You have now replaced the side brush motor of your Eufy vacuum. Regular maintenance together with proper handling will maximize its efficiency and extend its life. Happy cleaning!
Key Takeaway:
- Eufy side brush motors play a pivotal role in the efficient cleaning capability of your robotic vacuum.
- Recognizing and addressing potential issues with the side brush motors can prevent extensive damage and extend the lifespan of the vacuum.
- Replacing the motor is a simple process requiring basic tools and a compatible new side brush motor.
- Proper maintenance and care, post-replacement, are crucial to ensure the replaced side brush motor’s smooth functioning and longevity.
While replacing a side brush motor might seem like a daunting task, keep in mind that it’s a manageable process. As long as you’re equipped with the right tools and follow the steps diligently, you can keep your Eufy robotic vacuum functioning optimally for years. And remember, prevention is better than cure! Regular maintenance is the best way to prevent motor issues and keep your Eufy vacuum in top shape.
Can a Side Brush Motor Replacement Help If My DEEBOT Side Brush Is Not Spinning?
If your DEEBOT side brush isn’t spinning, a side brush motor replacement might be necessary. Before taking that step, consult some side brush troubleshooting tips. Sometimes, simply clearing debris or ensuring proper assembly can resolve the issue, potentially saving you the hassle of a motor replacement.
FAQs
Q: How often should I replace the side brush motor of my Eufy vacuum?
A: The frequency of replacement depends on the usage and maintenance of your vacuum. If you notice signs of wear or reduction in cleaning efficiency, it might be time for a replacement.
Q: Can I use a side brush motor of a different model in my Eufy vacuum?
A: It’s essential to use a side brush motor compatible with your specific Eufy model to ensure optimal functioning.
Q: Is there a risk of electrical shock while replacing the side brush motor?
A: As long as you unplug the vacuum before starting your repair, you should be safe from potential electrical shocks.
Q: How do I know if the replaced motor is functioning properly?
A: Post-replacement, run your vacuum and observe if the side brushes rotate smoothly and sweep debris effectively. Any inconsistency or unusual noise would suggest there’s an issue.
Q: How to extend the longevity of my newly replaced side brush motor?
A: Regular cleaning, removing any entangled debris from the brushes, and monitoring for signs of wear and tear can help extend the lifespan of your replaced motor.
Taking care of your Eufy robotic vacuum can seem like a meticulous task, but remembering these guidelines can help you maintain it better. Feel free to share this article with others and explore more valuable posts on our website.