A clean home is a happy home – and a crucial tool to keep that cleanliness intact is the Swiffer WetJet. This cleaning marvel provides an easy, fast, and convenient solution to tackle dirt, dust, and grime on any floor type. It not only promises the elimination of dirt but also ensures high sanitation thanks to its high-performing cleaning solution. The secret behind keeping your Swiffer WetJet at peak performance lies in regularly replacing its cleaning solution.
Understanding the Swiffer Wetjet
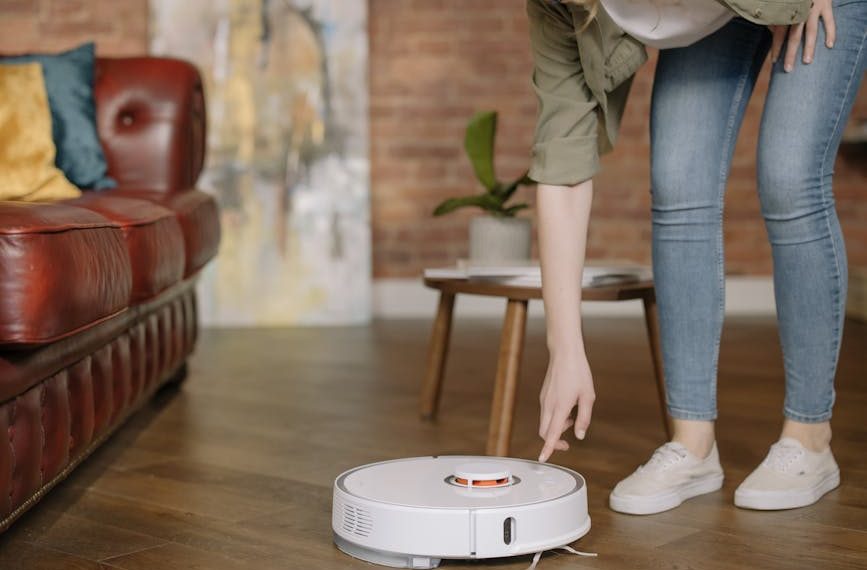
The Swiffer WetJet is a mop that uses a proprietary cleaning solution coupled with disposable pads to clean floors effectively. Unlike traditional counterparts, it eliminates the need for buckets and wringing, making your cleaning task less tiresome. But the key element in the WetJet is the cleaning solution.
Some top features the Swiffer WetJet boasts include:
- Spray nozzle distributing the solution evenly on the surface.
- Dual spray nozzle catering to large and tough stains
- LED light directing spray accurately.
- Absorbent pads to soak up the cleaning solution and lift dirt.
Regularly replacing the cleaning solution ensures that your WetJet maintains optimal performance, as a depleted or old solution reduces its effectiveness. Ideally, the cleaning solution should be replaced as soon as it runs out or every three months, whichever comes first.
The Signs That Your Swiffer Wetjet Requires a New Cleaning Solution
Learning to recognize the signs indicating a replacement is needed for the cleaning solution is crucial to ensure your WetJet’s efficiency. Some of these signs include:
- Reduced spray from the nozzle.
- Leaving streaks or residue on the floor.
- Deteriorating cleaning performance.
A fully loaded WetJet can typically clean around 323 sq. ft., which equates to roughly 4 average-sized rooms. However, this may vary based on the amount of solution used. As your WetJet cleaning solution becomes older, its running time may decrease significantly.
Ignoring these signs and failing to replace the cleaning solution timely can lead to poor cleaning results and potential damage to the device. It’s good practice to check the solution level before every cleaning session.
Choosing the Right Cleaning Solution for Your Swiffer Wetjet
Choosing a suitable cleaning solution is a key factor in ensuring the Swiffer WetJet’s longevity and optimal cleaning results. Each WetJet model may require a specific type of cleaning solution, so it’s important to always select a compatible one.
Some respected cleaning solutions include:
- Swiffer WetJet Multi-Purpose Cleaner.
- Swiffer WetJet Wood Floor Cleaner.
- Swiffer WetJet Heavy Duty Mopping Pads.
When purchasing a new solution, make sure to look at factors such as compatibility, fragrance, surfactants, and PH neutral formulations.
Step by Step Guide on Replacing the Cleaning Solution
Replacing the cleaning solution on your WetJet is a precision-based task that requires care and detail. Here’s a step by step guide you can follow for a successful cleaning solution replacement:
- Carefully unlock and remove the old cleaning solution container from the WetJet.
- Shake the new cleaning solution container gently before opening.
- Align the new solution container with the WetJet & press firmly till it clicks into place.
- Test the spray to ensure the solution is flowing smoothly.
Ensure you have these items handy during the replacement:
- A new cleaning solution.
- Clean cloth or towel.
It is important to replace the cleaning solution when the WetJet is not in use to prevent leakage or spillage.
Maintaining Your Swiffer Wetjet After the Cleaning Solution Replacement
Subsequent to replacing the cleaning solution, it’s essential to keep your WetJet in top-notch condition to guarantee its longevity and performance. The first step begins with regular cleaning and storing the WetJet properly.
Clean your WetJet after every use by wiping the nozzle and body with a damp cloth and store it in a cool, dry place. Surefire ways to maintain the WetJet include:
- Regularly replace the cleaning solution and pads.
- Keep the spray nozzles clean to maximize the solution usage.
- Store the WetJet upright to prevent leaking.
Post-replacement, if you notice any blockages or leaks, it’s important to address these immediately to prevent any damage to your WetJet. A block or leak can be typically fixed by wiping the nozzle clean or securely fastening the solution bottle in place, respectively. Remember, regular maintenance plays a key role in extending the lifespan of your WetJet.
There you have it — a comprehensive guide on how and when to replace the cleaning solution on your Swiffer WetJet along with tips to maintain it afterward. Stay on top of these practices to ensure your WetJet always yields clean and sanitized floors with ease. Happy cleaning!
Key Takeaway:
- Keeping the Swiffer WetJet’s cleaning solution regularly replaced is crucial for its optimal performance.
- Receiving cues such as reduction in spray, streaks on the floor, or decreased cleaning performance, indicates the need for a cleaning solution change.
- The choice of correct cleaning solution, suitable with your specific WetJet model, plays a significant role in the device’s longevity and cleaning results.
- Always replace the cleaning solution when the WetJet is not in use to prevent any spillage or leaks.
- Regular cleaning and appropriate storage of the WetJet post cleaning solution replacement is essential to maintain its condition and performance.
Keeping your Swiffer WetJet in top-notch condition not only ensures the cleanliness and sanitation of your home but also the longevity of this beloved cleaning tool. By staying vigilant towards the signs requiring a cleaning solution replacement, choosing the suitable cleaning solution, and following top-grade maintenance practices post-replacement, your WetJet can serve you an easy, efficient and effective cleaning for years to come.
Can You Replace the Cleaning Solution on Your Swiffer WetJet While Also Changing the Batteries?
If you’re wondering how to replace swiffer wetjet batteries, it’s a breeze! Simply open the battery compartment and swap out the old batteries for new ones. As for the cleaning solution, you can refill the tank at any time, making both tasks quick and efficient for maintaining your Swiffer WetJet.
FAQs
Q: How frequently should I replace the cleaning solution in my Swiffer WetJet?
A: Ideally, the WetJet cleaning solution should be replaced as soon as it runs out or every three months, whichever occurs first.
Q: What should I do if I notice the cleaning solution is not spraying properly?
A: It could be due to the cleaning solution getting old or low. You should consider replacing it. If the issue persists, check for any blockages at the nozzle.
Q: Is it harmful if I use a cleaning solution of a different brand in my Swiffer WetJet?
A: For best results and to prevent any potential damage, it’s recommended to use a cleaning solution that’s compatible with your specific WetJet model.
Q: The cleaning solution is leaking from my Swiffer WetJet. How do I fix this?
A: Make sure the solution container is securely fastened in place. If the leak continues, it could be due to a faulty container.
Q: Can I clean my Swiffer WetJet using water?
A: Yes, you can clean your WetJet after every use by wiping the nozzle and body with a damp cloth. But never submerge your WetJet into water as it could damage the device.
Go ahead and share this guide on replacing the cleaning solution on the Swiffer WetJet with those you think can benefit from it. Explore more posts on our website for other interesting reads.
