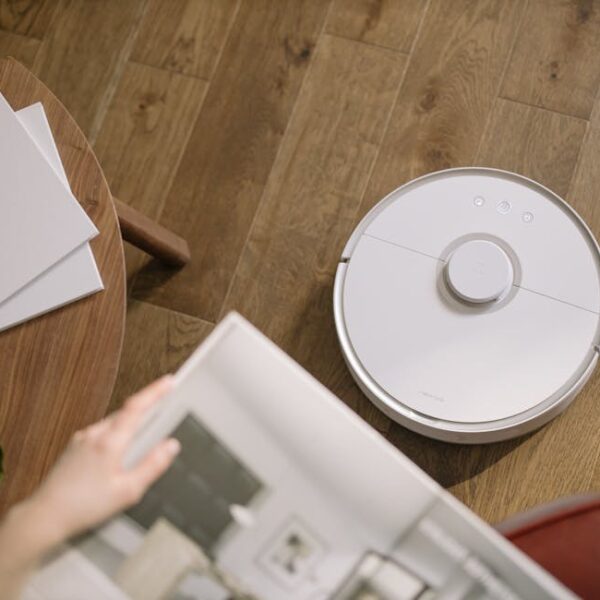
Are you dealing with an uncooperative DEEBOT? Before you succumb to frustration, consider a reset. Resetting DEEBOT, regardless of the model, has the potential to iron out minor glitches, restore performance, and reinstate its default factory settings. As an owner of this handy robot vacuum, understanding the how’s and when’s of a reset can save both time and unnecessary wear and tear on your device.
In this article, we’ll be delving into not only the procedures to reset all DEEBOT models, but also the telltale signs that hint at the need for a reset. Also included are preventative measures, checklists, comparisons, and tips all aimed at providing practical and actionable information.
Understanding the Need for Resetting Your DEEBOT
Just like any sophisticated piece of technology, your DEEBOT can run into occasional hiccups, be it mechanical problems, software bugs, sensor malfunctioning, or, more commonly, prolonged use without cleaning. Every now and then, your DEEBOT might need a little reset to get it back on track.
Resetting your DEEBOT restores it back to its factory settings – effectively returning it to the state it was when you first took it out of the box. This ‘refresh’ can help resolve common issues and enhance the performance of your DEEBOT.
Red Flags Signalling the Need for a Reset:
- Repeated error messages
- Frequent stoppage during cleaning
- Unusual navigation patterns
- Reduced battery life
- Reduced cleaning efficiency
Preventative Measures:
- Regularly clean brushes, filters and dust bins.
- Ensure DEEBOT firmware is up-to-date.
- Ensure DEEBOT sensors are clean and unblocked.
- Regularly schedule light maintenance checks.
General Procedure for Resetting All DEEBOT Models
While the specific keys or buttons required might differ slightly from model to model, the basic process of resetting a DEEBOT remains the same. Often, it involves disconnecting the device, holding down certain buttons for a few seconds, and paying attention to any changes in LED indicators or sounds.
Step-by-step Checklist for Resetting DEEBOT:
- Power off/unplug the DEEBOT.
- Press and hold the relevant buttons (usually ‘Auto’ or ‘Home’).
- Wait for any changes in LED indicators or sounds.
- Connect the DEEBOT to power and switch it on.
- Observe changes in performance.
Pros and Cons of Resetting Your DEEBOT:
- Pros: It resolves minor glitches, restores performance, and extends the device’s lifespan.
- Cons: You may lose customized settings, requiring reprogramming post-reset.
Resetting DEEBOT N79S/N79W/N79
If you own a DEEBOT N79S, N79W, or N79 model, resetting your robot vacuum requires a specific procedure. In these instances, the reset button’s location and associated cues might differ from other models.
Firstly, ensure that your device is powered on. Then, locate the ‘Auto’ button on the top of the vacuum – this will act as your reset button. Press and hold this until you hear a beep sound; this is the signal that your DEEBOT has been successfully reset.
Pro Tips for a Smooth Reset on DEEBOT N79S/N79W/N79:
- Ensure your device is not on low battery during the resetting process.
- Make sure the device is not docked while resetting.
- Pay close attention to the beep sound. Without it, the reset may not have been successful.
Comparison of Resetting DEEBOT N79 Series versus Others:
| DEEBOT N79 Series | Other Models | |
|---|---|---|
| Power State | On | Usually Off |
| Reset Button | ‘Auto’ Button | Varies |
| Confirmation Cue | Beep sound | Usually LED change |
Resetting DEEBOT 900 Series
For owners of the DEEBOT 900 series models, the reset process involves a distinct set of button sequences. Familiarizing yourself with your model-specific manual before initiating a reset is always advisable to avoid additional complications.
Checklist for Resetting DEEBOT 900 Series:
- Unplug your DEEBOT 900.
- Locate the ‘SPOT’ and ‘CLEAN’ buttons.
- Press and hold both buttons for about three seconds.
- Wait for the robot’s voice to confirm a successful reset.
Best Practices for Maintaining DEEBOT 900 Series After The Reset:
- Keep the DEEBOT on its docking station when not in use.
- Clean the DEEBOT regularly, ensuring the sensors and brushes are free from dust and debris.
- Verify that the vacuum is running on the latest firmware version.
Resetting DEEBOT OZMO Series
Resetting the DEEBOT OZMO series models may take a different approach than resetting the other series. For some of the OZMO models, you will require the app to initiate the reset.
Pro Tips for an Error-Free Reset of DEEBOT OZMO Series:
- Make sure the DEEBOT is connected to the app before starting the reset process.
- Ensure your device is not on low battery during the resetting process.
- Follow the specific button sequence for your model as per the manual.
Comparison of Resetting OZMO Series vs Other Series:
| OZMO Series | Other Models | |
|---|---|---|
| App Requirement | Required for some models | Not Required |
| Power State | Regardless of On/Off | Usually Off |
| Confirmation Cue | Varies | LED Change or Beep |
Life After a Reset
After successfully resetting your DEEBOT, expect some things to change. More often than not, the robot vacuum will revert to its default settings – this includes favored cleaning paths and schedules. You will likely need to re-engrave these settings to suit your needs again.
On the bright side, a reset can enhance your device’s performance, and, consequently, its cleanliness level and lifespan. Regular maintenance checks, diligent cleaning, and smart usage can help you avoid frequent resets and ensure your DEEBOT always runs at its best.
Things to Do After a DEEBOT Reset:
- Reprogram your custom cleaning schedules.
- Reset your preferred cleaning paths.
- Test the device for
Key Takeaway:
- Resetting your DEEBOT can restore its performance and resolve minor glitches.
- Red flags for a reset include repeated error messages, unusual navigation and reduced efficiency.
- The process for resetting may differ between models, but generally involves turning off the device, pressing a button, and observing any changes in LED lights or sounds.
- DEEBOT N79S/N79W/N79 models require the pressing of the ‘Auto’ button while the device is powered on.
- DEEBOT 900 series model resets involve a specific sequence of buttons and the device needs to be turned off.
- With some OZMO series models, the OZMO app may be required for resetting.
- After resetting, reprogramming custom settings and cleaning paths might be necessary.
Remember, though resetting your DEEBOT may seem daunting, this comprehensive guide can make the process smoother. Follow the instructions carefully to avoid complications, ensure your DEEBOT lives a long and efficient life, and continue enjoying a spotless home.
FAQs
Q: How often should I be resetting my DEEBOT?
A: There’s no set rule for how often you should reset, but typically, you should consider a reset if your DEEBOT is repeatedly showing errors or behaving unusually.
Q: Will resetting my DEEBOT erase all my custom settings?
A: Yes, a reset generally reverts your DEEBOT back to its factory settings, so you may need to reprogram your preferred cleaning schedules and paths.
Q: Are there any risks involved in resetting my DEEBOT?
A: As long as you follow the instructions, there are minimal risks involved. However, you may lose any customized settings, requiring them to be reprogrammed after the reset.
Q: Do all DEEBOT models require the use of the ‘Auto’ button to reset?
A: No, the method varies between models. For instance, the DEEBOT N79 series uses the ‘Auto’ button, while the DEEBOT 900 series uses a combination of ‘Spot’ and ‘Clean’ buttons.
Q: Is there any post-reset maintenance I should be aware of?
A: Post-reset, it’s a good idea to reprogram any custom settings and carry out a test run to ensure the device is working as expected. Regular general maintenance should also be continued.
Feel free to share this article and explore more of our content for other useful tips and guides on maintaining your DEEBOT.
