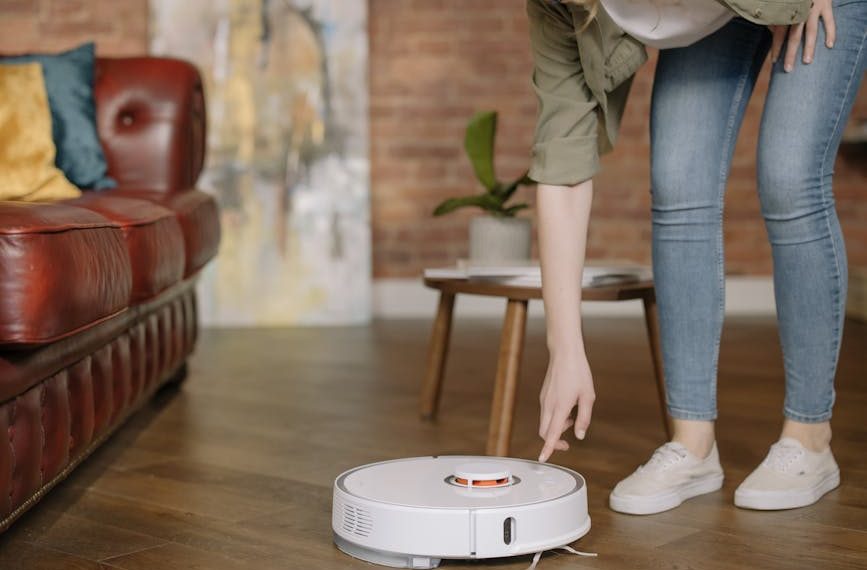
For most homeowners, a robot mop is a modern marvel that takes a lot off of the household chore list, giving you the freedom to get on with other tasks. Yet, the sinking feeling when you discover your trusty mop is leaving streaks on your once immaculate floors isn’t quite great. So, why is this happening?
Possible Causes of Streaking
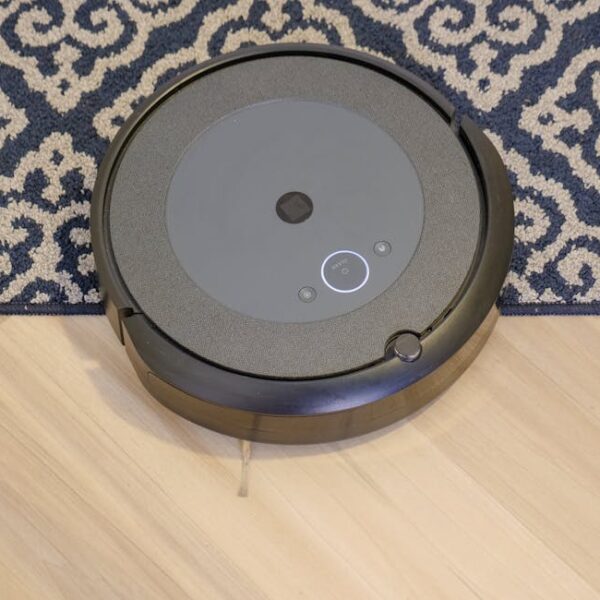
A robot mop can leave streaks for numerous reasons, usually down to one or more subtle issues. A common culprit could be a dirty, overused mop pad or rollers encrusted with dirt. Just like a manual mop, robot mops need their pads cleaned regularly to continue performing at their best.
In some cases, you might be using too much detergent during the clean. The excess can leave behind a residue that dries into streaks. A low-powered battery could also contribute to streaks, as your robot mop won’t be operating optimally. Lastly, blocked spray nozzles may disrupt the spread of cleaning solution onto the floor, causing streaking.
- Tips:
– Regularly clean your robot mop’s pad and rollers.
– Avoid overusing detergent.
– Ensure the battery is fully charged before use.
– Regularly check and clean spray nozzles.
How Is The Cleaning Pattern Affecting Mopping?
The cleaning pattern of your robot mop could also contribute to streaking. An irregular pattern can cause overlapping, leading to residue build-up that forms streaks once dry. Fiery circular patterns or seemingly random back-and-forth cleaning patterns can exacerbate the issue.
Best practice suggests setting a systematic, orderly cleaning pattern for your robot mop. If your device offers different cleaning modes, consider switching to a more methodical, grid-like pattern that reduces overlapping.
Troubleshooting Steps to Prevent Robot Mop Streaks
The first troubleshooting step should be to inspect and clean (or replace) the mop pad. If it’s dirty or worn out, it won’t clean effectively. Think about reducing the amount of detergent used during cleans, as this could help prevent excess residue. Regularly empty and refill the water tank to ensure a fresh supply for your robot mop.
Next, check the spray nozzles for any blockages that might affect how the cleaning solution is distributed on the floor. Remember, the user manual is your best friend during this process. It’s designed to assist you with these checks and can offer specific advice tailored to your model.
Maintenance Tips for Consistent Cleaning Results
Just like your car or a household appliance, your robot mop needs regular maintenance to function correctly. Cleaning or replacing the mop pads after every few uses will lead to better results. As mentioned previously, try to avoid using too much detergent. Over time, this will save you money and your floors from streaks.
Keeping the battery fully charged before every use will also help your robot work at its best, offering a more efficient clean. Regular maintenance will not only help prevent streaks but will also enhance the longevity of your robot mop.
When Should You Consider Professional Help or Replacement?
If all these troubleshooting steps and regular maintenance still leaves you with a streaky floor, it may be time to call in the professionals. They have the expertise to diagnose and fix a variety of underlying issues your robot mop may have. However, depending on the cost, it might be more economical to consider purchasing a new robot mop.
Balance the pros and cons. While a professional can fix the problem (potentially cheaper than buying a new mop), you could face similar issues further down the line. We recommend checking the warranty of your robot mop before you make any decisions. Some manufacturers will offer assistance and repairs as part of your warranty agreement.
Why is My Robot Mop Leaving Streaks? (SOLVED): Detailed Solutions and Maintenance Tips
The Perplexity of Streaking – Unraveling the Mystery
Unwanted streaks on your floor after a robot mop operation can be frustrating and puzzling. This unsightly problem may arise due to several reasons and knowing the why of it is the first step to finding an effective solution. Let’s dive deep and uncover the most common causes due to which your once immaculately clean floors end up having streaks.
Possible Causes of Streaking
The streaks left behind by your robot mop can be attributed to various conditions such as:
- Dirty mop pad or rollers: Just like your conventional mop, a robot mop’s cleaning efficiency is greatly hampered by a dirty mop. If the mop pad or rollers are dirty or overused, the dirt ends up being spread around, resulting in streaks.
- Too much detergent or cleaning solution: Contrary to popular belief, using an excessive amount of detergent doesn’t make the mop more effective. Instead, it can leave behind a soapy residue that forms streaks when it dries.
- Inadequate battery power: A low-powered battery can result in inefficient operation, leading to left-behind dirt and subsequent streaks.
- Blocked spray nozzles: The spray nozzles can get blocked with dirt over time, disrupting the even distribution of cleaning solution and water on the floor, causing streaks.
Pro Tip: A regular cleaning routine for the mop pads and rollers, along with a cautious dosing of the detergent, can effectively reduce the chances of streaking.
How Is The Cleaning Pattern Affecting Mopping?
The cleaning pattern adapted by your robot mop can also play a major role in causing streaks. If the mop follows an irregular or overlapping pattern, it may lead to a build-up of detergent residue and form streaks as it dries up.
For instance, if your robot mop has a fiery circular pattern, it may cover the same area multiple times, leading to an overuse of detergent, which eventually forms streaks. A random back-and-forth pattern followed by the mop can also have the same effect.
Best Practice: Try to set a systematic, non-overlapping cleaning pattern for your robot mop. If your mop device comes with options for different cleaning modes, do consider switching to a pattern that avoids multiple coverages of the same area.
Troubleshooting Steps to Prevent Robot Mop Streaks
Finding out the reason behind the streaks left by your robot mop requires a systematic troubleshooting process. The following steps can guide you:
- Inspect the mop pad or roller for any accumulations of dirt. If it’s dirty, give it a good clean or replace it with a new one.
- Try reducing the amount of detergent or cleaning solution the next time you use the mop. Opt for moderate amounts that can clean effectively without leaving behind any excessive residue.
- Empty the water tank, wash it thoroughly, and then refill it with fresh water before you intend to use the mop. Leftover dirty water can also be the cause of streaks.
- Check the spray nozzles for blockages. Clean them if necessary. Also, ensure that they are distributing water and detergent evenly.
Pro Tip: Always go through the user manual that comes with your robot mop in case of any glitches. The manual will guide you with device-specific troubleshooting tips.
Maintenance Tips for Consistent Cleaning Results
To eliminate streaks and maintain a consistent cleaning performance, regular maintenance of your robot mop is a necessity. Here are a few tips:
- Clean or replace the mop pads regularly. Mop pads free from grime and dirt can clean effectively and leave your floors streak-free.
- Avoid the temptation to pour in more detergent. Remember the mantra – ‘Less is more.’ A moderate amount of detergent can clean just as effectively.
- Charge your robot mop’s battery fully before each use. A well-charged mop functions optimally, reducing the chances of streaking.
Best Practice: Chart out a maintenance routine for your robot mop based on its usage. This exercise not just prevents streaks but also contributes to extending the mop’s lifespan.
When Should You
Key Takeaway:
- Streaks from a robot mop can be caused by a dirty mop pad or rollers, overuse of detergent, inadequate battery power or blocked spray nozzles.
- The mop’s cleaning pattern can also lead to streaking, especially if it’s irregular or involves a lot of overlap.
- Effective troubleshooting steps include cleaning or replacing the mop pad, reducing detergent, refilling the water tank regularly and checking for blockages in the spray nozzles.
- Regular maintenance of the robot mop, including cleaning of mop pads, sensible use of detergent and charging the battery fully before use, can help maintain cleaning efficiency and longevity.
- If all efforts at troubleshooting and maintenance don’t resolve the issue, it may be time to seek professional help or consider replacing the robot mop.
In essence, regular maintenance and methodical usage can make a significant difference in avoiding streaking problems with your robot mop. By taking action based on these insights, you can ensure a reliably clean and streak-free floor for your home, imbuing a vibrant and fresh ambiance.
Is Lack of Proper Cleaning Solution in My Swiffer Power Mop Causing My Robot Mop to Leave Streaks?
If your robot mop is leaving streaks, the issue might be linked to the cleaning solution used. Poor-quality or inadequate solutions can hinder performance. Consider exploring swiffer power mop spray troubleshooting tips to identify potential issues and ensure your cleaning routine is effective and streak-free.
FAQs
Q: Is it safe to use any type of detergent with my robot mop?
A: It’s best to use the recommended cleaning solution or detergent stated in the user manual of your mop. Some detergents can be too harsh for certain surfaces or for the mop itself.
Q: How often should I replace the mop pad of my robot mop?
A: The frequency of replacing the mop pad depends on the level of dirtiness and the usage. However, ensure to give it a clean after every use and replace when visibly worn out or dirty beyond cleaning.
Q: Can I use my robot mop on all types of floor surfaces?
A: Not all robot mops are suitable for every type of floor. It’s always best to check the user manual or manufacturer’s guidelines on the device’s compatibility with various floor surfaces.
Q: Can a low battery power in my mop robot cause streaks?
A: Yes, a low-powered battery can cause inefficient operation of your mop, which may lead to dirt being left behind and forming streaks.
Q: Is it necessary to empty and refill the water tank every time?
A: Yes, for best results it is recommended to empty and refill the water tank before every use as over time, the water can become dirty leading to streaks and less efficient cleaning.
Remember, a well maintained robot mop not only contributes to a healthy and pristine environment in your home but also extends the lifespan of your device. Don’t forget to share this useful article and discover more informative content on our website.