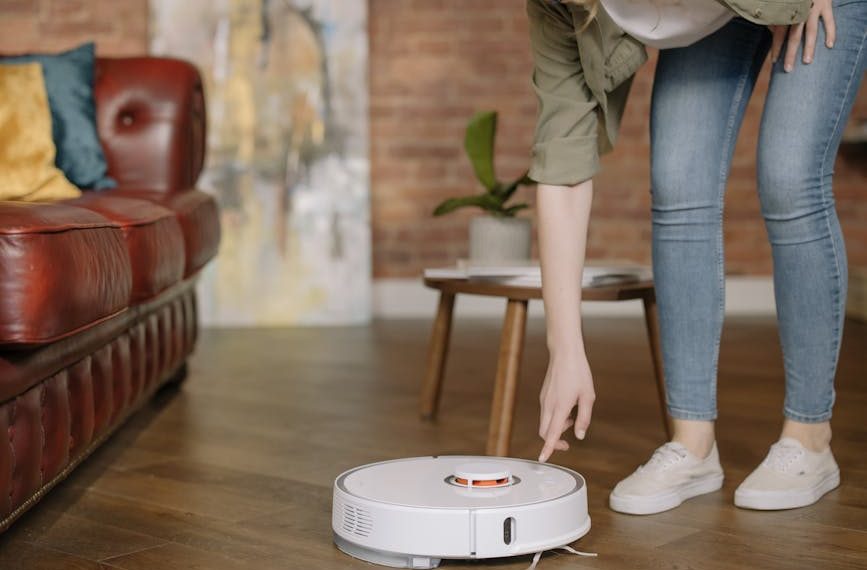
We’ve all been there: You’re enjoying a peaceful evening at home when you’re interrupted by an unwelcome squeaking or shrieking noise. You pinpoint the source, and it’s your usually reliable robot vacuum, throwing a mechanized tantrum. This irritating sound can disrupt your tranquillity and set your nerves on edge.
Possible Causes of a Squeaking Robot Vacuum
A robot vacuum aims to simplify house cleaning through technological advancement, but like any other machine, it can sometimes experience issues. When your robot vacuum starts to squeak, it can be a sign of several problems.
The robot vacuum consists of a multitude of moving parts that work in harmony, making things run smoothly. However, issues such as overuse, debris accumulation, or mechanical malfunctions can lead to unwanted sounds.
Common causes include:
- Dust and debris buildup: The accumulation of dust, hair, or tiny particles on the machine’s moving parts can cause resistance, leading to squeaky noise.
- Worn-out or damaged parts: Over time, parts such as brushes, wheels, or bearings can wear out or get damaged, which might result in noise.
- Incorrect setup or improper handling: If the machine isn’t assembled correctly or mishandled, it may create a squeaking sound.
**Pro Tip**: Regular maintenance and cleaning of your robot vacuum can potentially prevent these issues, helping it run smoothly.
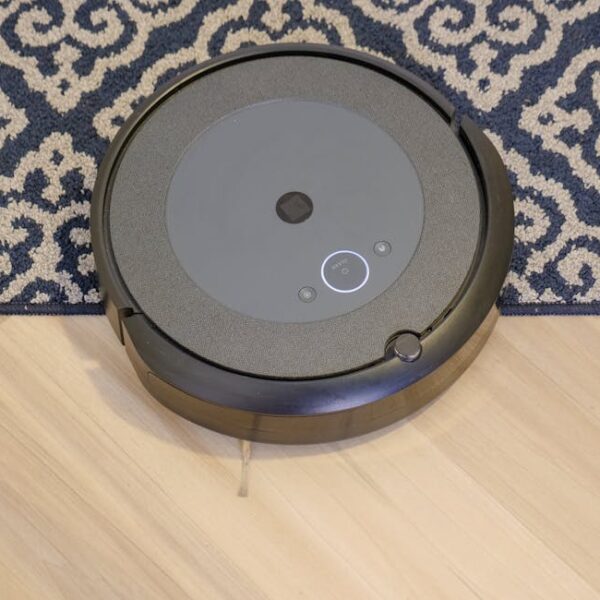
Understanding Your Robot Vacuum’s Components
To understand why your robot vacuum is making that irritating sound, you first have to understand its different components and how they work together.
Key components that can cause squeaking include:
- Wheels: Drive around debris or over surfaces.
- Brushes: Collect dirt and dust from surfaces.
- Bearings: Reduce friction and support movement.
**Best Practice**: Always read through the user manual that comes with your robot vacuum. This will give you a solid understanding of how the device works and how to take proper care of it.
Inspecting Your Robot Vacuum for Problems
The best way to isolate the source of the squeaking noise is by conducting a thorough inspection of your robot vacuum. Here’s how:
- Check for visible debris: Visually examine your vacuum for dirt or debris that might have accumulated on the external parts or in the crevices.
- Inspect the wheels and brushes: Turn the vacuum upside down and closely check the wheels and brushes for damages or stuck debris.
- Check the condition of bearings: These are often overlooked, but any damage or dirt can make them a significant source of noise.
Although self-inspection is a cost-effective way of identifying the problem, it could be challenging for those unfamiliar with the mechanics of a robot vacuum. On the other hand, a professional examination can provide a thorough diagnostic, albeit at a cost.
Fixing a Squeaking Robot Vacuum
Once you’ve identified the source of the noise, it’s time to fix the problem. This can be as simple as giving your vacuum a good clean, or in more serious cases, replace damaged parts.
**Pro Tip**: Always turn off and unplug the robot vacuum before starting any repair or maintenance work. Safety first!
To be continued….
Fixing a Squeaking Robot Vacuum
After successfully identifying the cause of the squeaking sound in your robot vacuum, fixing it will depend on what’s causing the issue. Here are a few methods to try depending on the identified trouble:
- Cleaning the vacuum: If the squeaking is due to u accumulation of dust or debris, giving your vacuum a thorough clean will often solve the problem. Remove any dust, hair or small particles from the brushes and wheels, and remember to clean out the dust bin too. It’s a simple fix, but can be remarkably effective!
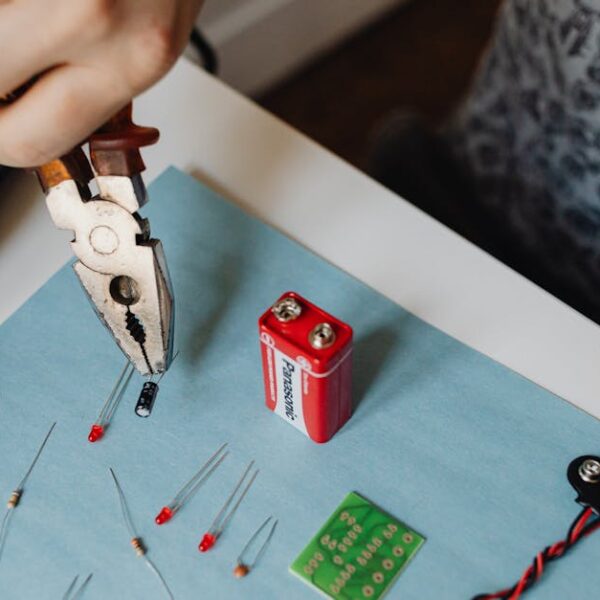
- Replacing worn-out parts: If any parts like wheels, brushes, or bearings are visibly worn out or damaged, they will need to be replaced. Make sure you refer to your vacuum’s user manual to understand how to properly replace these parts. Don’t worry, it’s usually a pretty straight-forward process.
- Seeking professional help: If cleaning or replacing parts doesn’t seem to fix the problem, or if you’re not comfortable messing with the mechanics of your vacuum, don’t fret. Sometimes it’s best to seek out the help of a professional. They can provide a more thorough diagnostic and repairs to ensure your trusty robot vacuum is back up and running smoothly.
**Pro Tip**: Always turn off and unplug your robot vacuum before you start any repair work. It’s always important to prioritize safety!
Maintenance Tips to Avoid Future Squeaking
Nothing beats the stress of mechanical issues than preventing them in the first place! Here are a few maintenance tips that can help you prevent your robot vacuum from squeaking in the future:
- Regular cleaning: Establish a routine to clean your robot vacuum regularly. This includes dusting off any visible debris from the machine, emptying the dust bin, and cleaning the brushes.
- Proper storage: Always remember to store your robot vacuum in a clean, dry place away from any obstructions. This will prevent dust from settling in and reduce potential damage.
- Timely replacement of parts: If any parts like brushes or bearings seem to be wearing out over time, replace them immediately to avoid bigger issues in the future.
**Best Practice**: Adhere to the maintenance guidelines provided by the manufacturer. It’s the surest way to ensure the longevity and optimum performance of your robot vacuum. So, stay proactive, keep your device well-maintained, and say goodbye to that annoying squeak noise forever!
Key Takeaway:
- A squeaking robot vacuum can be caused by factors such as dust and debris buildup, worn-out or damaged parts, or incorrect setup.
- Familiarizing oneself with the different components of a robot vacuum like wheels, brushes, and bearings can help diagnose the root cause of the problem.
- Thorough self-inspection, although cost-effective, might be challenging for those unfamiliar with a robot vacuum’s mechanics; professional evaluation is recommended in such cases.
- Depending on the issue, the problem can be fixed through cleaning, replacing damaged parts, or seeking professional help.
- Regular maintenance, proper storage, and timely replacement of parts can prevent future squeaking in robot vacuums.
The journey with your robot vacuum might have hit a rough patch, but there’s nothing a keen eye and dedicated care can’t fix. Stay proactive, understand your device well, provide regular upkeep, and your little helper will be back on its wheels, serving you without a squeak, in no time!
FAQs
Q: Can I use any vacuum cleaner parts to replace the faulty ones in my robot vacuum?
A: No, it’s recommended to replace the parts with those specifically designed for your robot vacuum model. Always refer to the user manual or consult the manufacturer’s customer service for correct information.
Q: How often should I clean my robot vacuum to prevent it from squeaking?
A: Ideally, a quick clean after each use and a more thorough cleaning weekly should keep the vacuum running smoothly. However, this can depend upon the usage and the specific model of your robot vacuum.
Q: Is there any specific place to store my robot vacuum?
A: Storing your robot vacuum in a clean, dry place away from direct sunlight is advised. This helps prevent dust buildup and avoids potential damage.
Q: At what point should I consider seeking professional help for my squeaking robot vacuum?
A: If basic fixes like cleaning or replacing worn-out parts don’t eliminate the squeaking, or if you’re uncertain about the problem, it’s then best to consider professional help.
Q: Can dust or debris inside the dust bin cause the vacuum to squeak?
A: Usually, dust or debris in the dust bin doesn’t cause squeaking. However, if the bin is overflowing, it may interfere with the vacuum’s functionality. Regular emptying of the dust bin is advised for optimum performance.
We’d love if you could share this article with others who might find it helpful. Explore more posts on our website for further insights and tips.