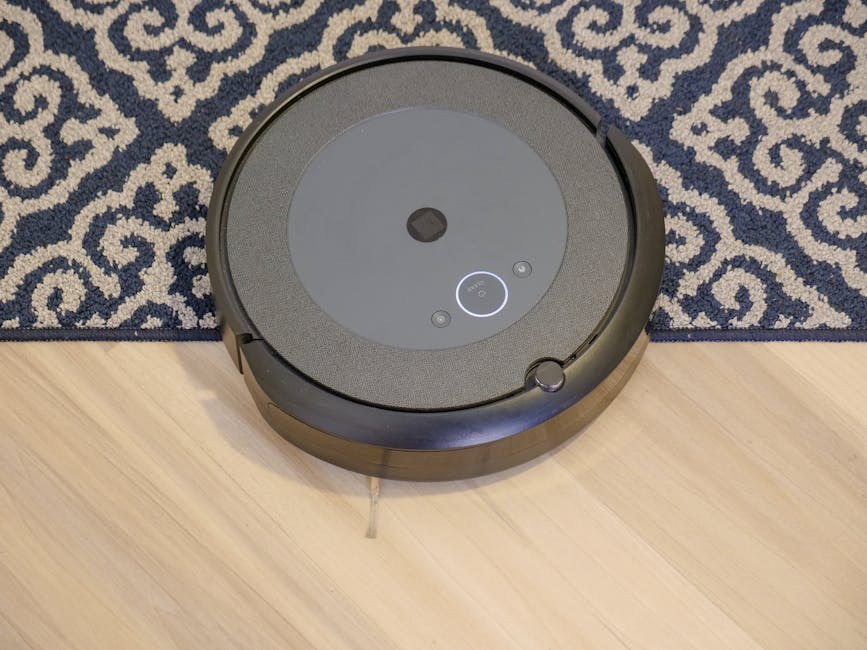
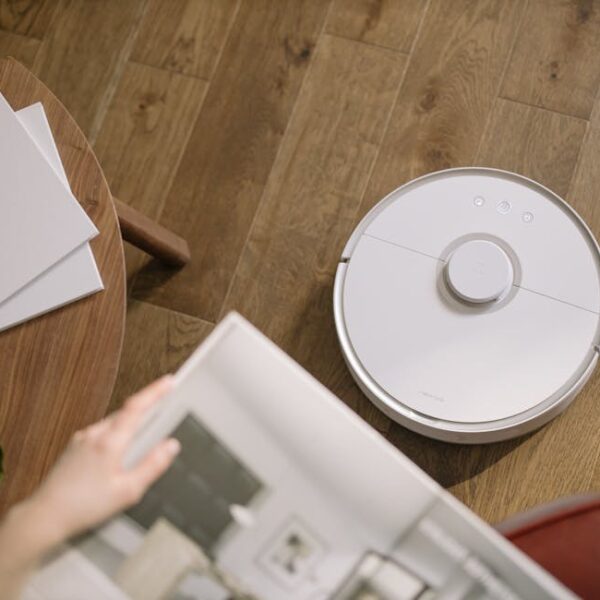
Just like any electronics, Roomba robot vacuums are also prone to certain errors. One of the most common ones revolves around charging. Your Roomba may not charge at all, get stuck while charging, or may even take an overly long time to power up completely. Another common issue is a sudden reduction in battery life. While these errors can be unsettling, they are mostly due to simple issues and are often easy to resolve.
Let’s better understand what each of these errors means.
- Error 1 (Roomba stuck in charging): Often an indication that the charging contacts on your Roomba or Home Base may have dust or debris.
- Error 2 (Roomba not charging): This could mean the robot is not correctly seated on the Home Base.
- Error 3 (Long Charging Time): This may indicate that the battery is not well optimized and needs recalibration.
- Error 4 (Quick Battery Drain): It usually suggests that the battery may be old or defective and might need replacement.
Now, here are some best practices that could prevent these errors:
- Always keep the charging dock clean: Dust, debris, or other residues might disrupt the flow of current.
- Never place Roomba and its charging dock near any heat source: Batteries dislike heat and it might reduce their lifespan or efficiency.
- Always use the official charger and battery: Substandard or incompatible components might not provide necessary current or voltage resulting in improper charging.
Fundamental Checks Before Troubleshooting
Before we jump into troubleshooting, let’s check some fundamental things that might be causing your Roomba to misbehave.
- Physical Damage: Check your Roomba and charging dock for any physical damage. Damage to charging contacts or the cable could be the culprit.
- Battery Fitting: Make sure the battery of the Roomba is correctly fitted. A loose battery connection could prevent the power from flowing into the device.
- Power Supply: Ensure the power source, to which the charging dock is connected, is functional. You can test this by plugging in another device to see if it works.
- Cleanliness: Lastly, the Roomba and charging dock should be clean and dust-free. Especially, the metallic charging contacts on both Roomba as well as the dock.
Here’s a quick checklist for reference:
- Charging cable and dock: Check it for any signs of wear and tear or damage.
- Plug: Make sure it’s fitted correctly into the socket.
- Battery: Ensure it’s securely placed and the contacts are clean.
In the next part, we will delve into a step-by-step troubleshooting guide for Roomba charging errors. Stay tuned!
Step-by-Step Troubleshooting Guide
In this section, we’ll delve into a thorough, step-by-step guide to help you deal with any charging issues you are facing with your Roomba.
- Check Power Outlet: Use another device, such as a lamp, to ensure the outlet your charging dock is plugged into is functioning correctly.
– Pro Tip: A multimeter can also be used to more accurately determine whether an outlet’s voltage is within acceptable limits.
- Check Charging Dock Alignment: Check if the Home Base is aligned properly and the Roomba is seated on it correctly.
– Pro Tip: For the Home Base to recognize and charge Roomba, the metal charging contacts on both the dock and Roomba must align correctly.
- Clean Roomba and Charging Dock: Use a dry cloth or air duster to clean charging contacts on both the Roomba and the dock.
– Pro Tip: Avoid the use of liquids or chemical cleaners, they can cause damage to electronic components.
Solutions for Specific Charging Errors
Now, we’ll match these charging errors with their potential solutions. Note that these are recommended actions that generally rectify the issues associated with the corresponding error codes.
| Error Code | Potential Solution | Pros | Cons |
|---|---|---|---|
| Error 1 | Clean charging dock, Reset Roomba. | Simple solution, no additional cost. | All user settings will be reset. |
| Error 2 | Replace Roomba’s battery, Check charging dock’s connection. | Guaranteed solution if it’s a battery problem. | Requires purchase of new battery. |
| Error 3 | Ensure Roomba’s software is up-to-date, Perform Roomba’s reset. | Can enhance battery optimization. | Needs Wi-Fi connection, could erase personalized settings. |
| Error 4 | Replace Roomba’s battery, Check Roomba’s run time. | Helps if the battery is old/depleted. | New battery cost, less effective on newer models. |
Contacting Roomba Support and Warranty Information
Sometimes, despite our best efforts, the issues persist. In such cases, it’s best to contact iRobot’s Roomba customer support. Their expert team can help troubleshoot and resolve issues over a call or an email.
Before you contact support, ensure you have these handy:
- Roomba Model Number: It helps support personnel diagnose issues faster.
- Proof of Purchase: For warranty verification and validity check.
- Detailed Description: Describe the error experienced, and all the steps you have taken to fix it.
Remember, patience is key when dealing with support teams. They deal with dozens of calls daily and will appreciate your understanding and cooperation. Be prepared to answer their queries, and provide specific, concise information to expedite the resolution process.
Key Takeaway:
- Understanding common Roomba charging errors such as stuck while charging, not charging at all, excessive charging time, and quick reduction in battery life is essential for effective troubleshooting.
- Regular check-ins on the Roomba and the charging dock for physical damage, battery placement, power supply, and cleanliness can prevent these errors.
- It’s crucial to follow a systematic approach to troubleshooting these errors, which includes checking the power outlet, charger alignment, and Roomba cleaning.
- Each specific charging error code has definite potential solutions and understanding the pros and cons of these solutions can help users make an informed decision.
- When all self-help efforts fail, contacting Roomba support is the most viable option, as the expert team can provide the best advice to fix the error. Remember to have your Roomba’s model number, proof of purchase, and a detailed description of the error at hand before reaching out.
Please remember that your Roomba is a complex, high-tech gadget, and sometimes, problems are only natural. However, most issues can fortunately be resolved at home with a bit of patience and careful troubleshooting. Implement these guidelines according to your specific Roomba charging issue and keep your handy companion running smoothly.
FAQs
Q: What is the lifespan of a Roomba battery?
A: Typically, a Roomba battery can last about 1-2 years based on usage and maintenance. However, this can vary depending on the specific model and type of battery used.
Q: Can I use third-party chargers and batteries for Roomba?
A: Although third-party chargers and batteries may be cheaper, they may not meet the precise specifications required by Roomba. Using non-official parts can lead to improper charging and could potentially damage the device.
Q: How often should I clean my Roomba?
A: It is recommended that you clean your Roomba’s brushes, wheels, and sensors after each run. Further, giving the charging contacts a quick clean every few days can ensure optimal charging.
Q: Are Roomba charging errors common?
A: Like any electronic device, Roombas might encounter charging issues from time to time. A lot of these errors are often due to simple issues and can be fixed at home with a bit of troubleshooting.
Q: How can I tell if my Roomba battery needs to be replaced?
A: If your Roomba is running out of charge quickly or failing to charge at all, it might indicate an aging or faulty battery. You should first attempt to recalibrate and reset the battery. If the issue persists, replacement of the battery would be necessary.
If you found this guide helpful, please share our post and explore more of our troubleshooting content on this site.
