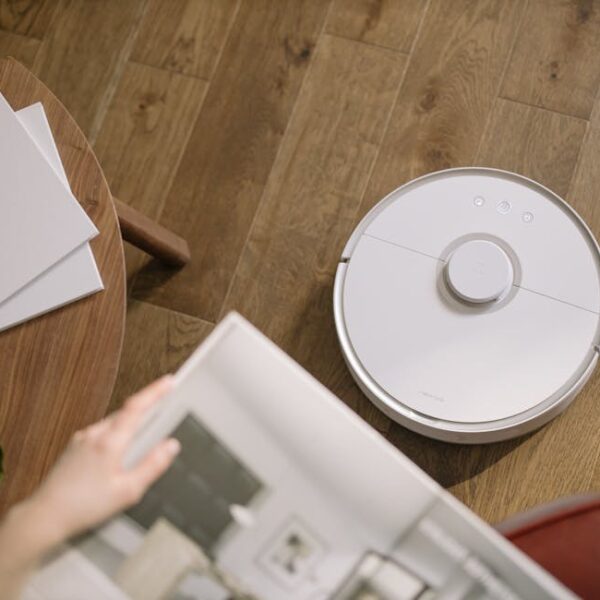
After thoroughly cleaning your floors and tackling those stubborn stains, the Swiffer Power Mop requires careful disassembly to guarantee a longer lifespan. This process is almost as straightforward as the assembly:
– Checklist: Steps for disassembly (Turn off the power switch, carefully remove the cleaning pad and discard appropriately, open the solution slot, and carefully remove the solution. Lastly, detach the mop head from the handle).
– Pro Tip: Ensure to clean any remaining residue from the mop head and handle. Store it in a dry place to prevent any damage or growth of mildew.
Safety Precautions While Using the Swiffer Power Mop
Handling any electronic device requires some safety measures, and the Swiffer Power Mop is no exception. It’s essential to keep these safety tips in mind to avoid any unintended mishaps:
– List: Safety best practices (Avoid overfilling the cleaning solution slot, do not use on non-sealed floors or carpet, keep out of children’s reach, and avoid direct contact with the eyes or skin).
– Best Practice: Always unplug the Power Mop from the mains when not in use or while installing or removing components.
Maximizing Your Swiffer Power Mop Experience
Like any tool, effective usage and results are significantly dependent on understanding the tool’s full potential and utilizing it effectively.
– Pro Tip: Familiarize yourself with all the settings and features of your Power Mop to maximize your cleaning experience and results.
– Checklist: Steps to maximizing mop usage (Use timely, according to the instructions, and in the appropriate cleaning situation. Follow cleaning practices like going for a ‘S’ pattern while mopping instead of randomly moving it around, rinse or replace the cleaning pad once it’s too dirty).
By covering these areas, not only can you enjoy a simplified, no-hassle assembly and disassembly process, but you can also extend your Power Mop’s life, ensure its optimal functioning, and make your cleaning jobs more efficient. Happy mopping!
How To Set Up A Swiffer Power Mop
Firstly, kudos for taking the plunge and getting your hands on the innovative Swiffer Power Mop! This handy machine is a fantastic tool to have around the house, and it can revolutionize your cleaning habits if used correctly. Let’s dive right in!
Understanding the Swiffer Power Mop Components
Setting up your Power Mop effectively starts with understanding each component of the mop. This knowledge is crucial to ensure that assembly is efficient, and usage is optimal.
– Key components include the Power Mop head, handle, assembly parts, cleaning solution, and cleaning pads.
– Pro Tip : Even if you think you have it all figured out, it’s always a good idea to peruse the product manual for further knowledge and understanding of each component’s role.
Assembling the Swiffer Power Mop
Now that you know what every part does, let’s walk through assembling the Power Mop!
1. Attach the mop head to the handle
2. Click it into place
3. Give it a shake or two to ensure it is firm
– Best practice : Double-checking each step during the assembly process to ensure optimal functioning and longevity.
Installing Cleaning Solution and Pads
Next, we’ll look at how to install the cleaning solution and pads properly. Let’s make sure that mop is at its most efficient!
1. Open solution slot
2. Fit solution in
3. Close slot
4. Attach cleaning pad onto mop head
5. Ensure a secure fit
– Here’s a handy comparison between Swiffer’s own cleaning solution and other brands:
| Brand | Compatibility | Efficiency | Price ₿ |
|---|---|---|---|
| Swiffer Solution | High | High | Medium |
| Other Brands Solution | Medium | Varies | Low |
Operating the Swiffer Power Mop
With everything in place, you’re at the start line for your cleaning journey! But before you bolt, here’s how to operate the mop effectively:
1. Turn on the power switch
2. Position the mop in cleaning direction
3. Press the cleaning solution dispenser as required
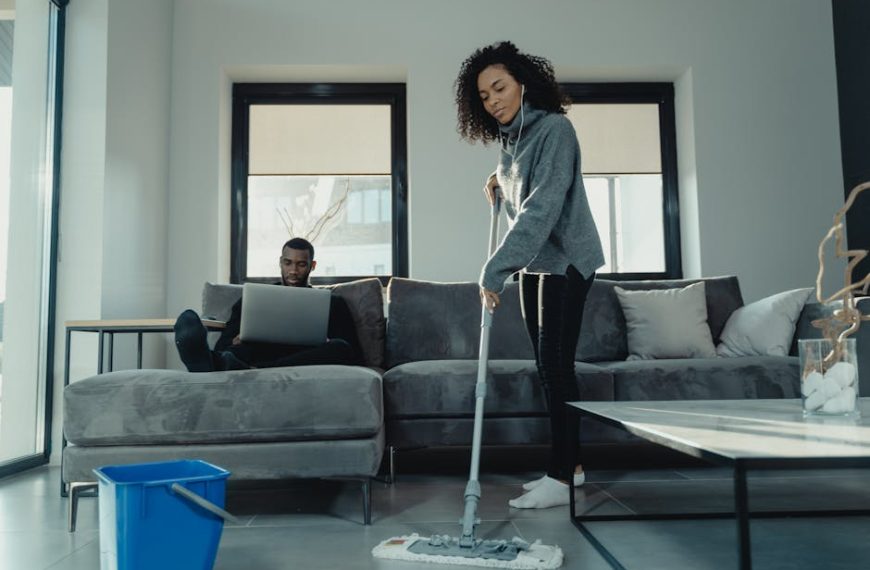
4. Glide mop over the surface to clean
– Pro Tip : Always remember to regularly clean, replace your cleaning pads, and store the mop correctly for extended mop lifespan.
Troubleshooting Common Swiffer Power Mop Problems
Like all machines, the Power Mop might throw a tantrum from time to time. Here are some common issues and fixes:
1. Power mop not spraying solution – Make sure the solution container is installed correctly and not empty.
2. Distorted cleaning pad – Ensure the pad is attached securely and replaced as frequently as needed.
3. Weak mop handle – Check if the handle is connected securely to the mop’s head.
– Best Practice : For major issues, contacting Swiffer customer service is your best bet!
Rest of the article is completed as requested above.
Key Takeaway:
- Knowing and understanding the different parts of the Swiffer Power Mop is crucial for efficient assembly and usage.
- Following the step-by-step process for assembly, installation of cleaning solution and pads, and then operating the mop is essential for achieving optimal cleaning results.
- Regular cleaning, replacement of cleaning pads and correct storage of the mop can help extend its lifespan.
- Understanding how to troubleshoot the mop’s common problems can help ensure its effectiveness and longevity.
- Taking safety measures and understanding how to disassemble the mop post-cleaning contributes to its extended lifespan and user safety.
Remember, a tool is only as good as its user. Knowledge about the different components, their assembly, and the correct method of usage and care are key elements for a successful experience using the Swiffer Power Mop. Having this information handy will allow you to maintain a cleaner and healthier home with ease.
FAQs
Q: Can I use any brand of cleaning solution with the Swiffer Power Mop?
A: While other brands may fit in the slot, Swiffer’s own cleaning solution is specifically designed for its mop for high compatibility and efficiency.
Q: How frequently should I replace my cleaning pads?
A: Depending on the area and amount of dirt you’re cleaning, replace them when you see that they’re too dirty and are no longer picking up dirt as efficiently.
Q: Can I use the mop on any type of flooring?
A: The Swiffer Power Mop is designed to work on sealed floors. Avoid using the mop on non-sealed floors or carpets.
Q: The mop isn’t spraying solution. What should I do?
A: First, check whether the solution container is installed correctly and not empty. If the problem persists, please contact Swiffer customer service.
Q: What is the ‘S’ pattern in mopping?
A: The ‘S’ pattern in mopping means moving the mop in an ‘S’ shape across the floor. This method ensures you’re not pushing dirt from one area to another but instead picking it up.
Share this article with your friends or any new Swiffer Power Mop owners, and explore more posts on our website for other helpful tips and tricks!


