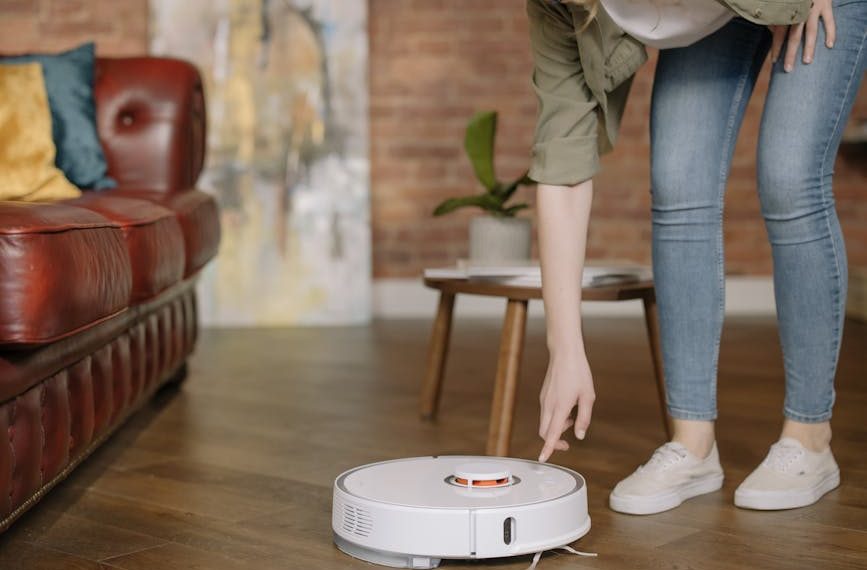
The Swiffer Power Mop is a key tool for maintaining clean floors in your home. As its most vital feature, the spray mechanism delivers a measured blast of cleaning solution that is critical for getting rid of stains and grime. However, users occasionally encounter a common problem – the Swiffer Power Mop may stop spraying. In such instances, don’t panic, and most importantly, don’t rush to replace your mop. With a simple understanding of the five key areas to examine and some maintenance tips, your mop will be back to its powerful spraying operation in no time.
Troubleshooting the Nozzle
At the very heart of your Swiffer Power Mop’s spraying function lies the nozzle – a small component capable of bringing the entire operation to a halt if blocked or obstructed. A common issue is the build-up of dirt or dried solution which causes clogging, impairing the spray function. To address this, firstly, examine the nozzle for any obvious blockages. Then, simply douse the nozzle in warm water to dissolve the hardened debris that might be inside.
In stubborn cases, you may need the aid of a household object, like a toothpick, to carefully remove blockages, all while ensuring not to damage the interior of the nozzle. Lastly, check for any kinks in the nozzle hose, as these can also interfere with the flow of solution from the mop.
Keep Your Mop Satisfied – Regular Maintenance
Like all machinery, your Swiffer Power Mop thrives on routine maintenance. Create a simple routine for cleaning the nozzle after each use. This will ensure that residue does not have time to dry and harden, thereby preventing frequent blockages.
Inspecting the Batteries
Just as important as the nozzle to the misting function of your Swiffer Power Mop are the batteries. Old or dying batteries are a common cause of a dysfunctional sprayer. Make sure your mop is operating on fresh batteries.
Harnessing Energy in the Right Way ⚡
Quality matters, always. Inferior batteries may not deliver enough power to the sprayer, which prevents it from functioning optimally. Similarly, always dispose of used batteries responsibly to protect our environment.
Choosing Your Power Source
When it comes to batteries, there are two main options: rechargeable and non-rechargeable. Weighing the pros and cons of each will help you decide the best one for your Swiffer Power Mop. To give you a head start, here’s a table comparing and contrasting these two choices.
Rechargeable Batteries Non-Rechargeable Batteries Economy Longer investment, but reusability saves money over time. Cheaper initially but need frequent replacement. Environment Impact Less waste, better for environment. Produces more waste, less green.
Examining the Water Tank
Without sufficient solution, the Swiffer Power Mop will struggle to spray. A quick look at the water tank often unravels problems. First, check if it’s properly fitted—inaccurate alignment can restrict the flow of solution to the nozzle. Second, inspect the tank for any cracks that could potentially leak and lower the pressure of the spray.
Tank Check: Routine Saves the Day
A quick check of the water tank before and after each use can preclude most issues. Regular cleaning of the tank also ensures remains of older solution do not mix with the fresh batch, maintaining the quality of the spray, thereby ensuring your mop is always ready for top-notch cleaning. Hold Your Trigger Right!
Issues with the spray trigger can also lead to non-functioning of the spray mechanism. It’s imperative to keep an eye out for signs of wear and tear, which might cause the trigger to lose its efficacy. Cracks or breakage in the trigger should also be addressed promptly as these can prevent the actuator from operating properly, effectively stopping the mop from spraying.
Trigger Inspection: Do it Right
Start by visually inspecting the trigger for obvious signs of damage. A trigger with significant wear and tear should be replaced right away. If the trigger appears to be fine, test its functioning by pulling on it while the mop is turned off. It should return to its original position smoothly and without resistance. If it doesn’t, this can indicate a problem that likely requires a replacement.
Treat Your Trigger with Care!
It’s easy to inadvertently damage the trigger by pulling it too hard or too quickly. Using slow, steady motions can help to prolong its life and prevent damage. Also, avoid exposing the mop to extreme conditions, such as heavy rain or severe heat, as these can materialize in premature wear and harm the trigger’s longevity.
Consulting Customer Service or Professional Repair
In some cases, despite trying all troubleshooting steps, you might still face issues with the spraying function. Then, it’s best to consult expert help. You can contact Swiffer’s customer service for advice, or a professional repair service. Always give an accurate account of the problems you’re encountering and the steps you’ve taken to rectify them so far. They can guide you on whether the mop needs repair or if it’s time for a replacement.
Decisions, Decisions: Repair or Replace?
Sometimes, it may be more cost-effective to replace a heavily-worn mop than repair it. Other times, a simple adjustment by Swiffer’s customer service or a repair expert can solve the issue.
Repair Replace Cost Can be cost-effective for minor issues. May be cheaper for major malfunctions or older models. Time Can be time-consuming, more if the parts are not readily available. Immediate solution, no downtime.
Make It Last: Your Swiffer Power Mop Needs Care
Your Swiffer Power Mop can serve you for many years if you treat it right. Diligent preventive care, including timely cleaning, gentle operation, and proper maintenance, can keep your mop up to the mark and minimize the need for professional repairs or cumbersome replacements. Happy mopping!
Key Takeaway:
- Clogging in the nozzle is a common cause for Swiffer power mop to stop spraying. Regular checking and cleaning can ensure its optimal performance.
- Batteries play a crucial role in the functionality of the mop. Always check for depleted batteries and consider using high-quality, preferably rechargeable batteries.
- Water tank issues, such as incorrect fitting and cracks, might obstruct the spraying process. Make sure to inspect and clean the tank regularly.
- Damages or wear and tear on the spray trigger can stop the mop from spraying. Routine checking and careful use can increase its lifespan.
Continuing problems despite troubleshooting might require consultation with customer service or professional repair. Sometimes, part replacement could be a more cost-effective solution to your mop’s problem. Nonetheless, preventive care and maintenance should be part of your routine to keep your Swiffer Power Mop in the best shape and enjoy its service for many years to come.
What Should I Do If My Swiffer Power Mop Is Not Spraying and I Also Have a Problem with My Spin Mop?
If your Swiffer Power Mop is not spraying, first check the water tank for clogs or empty status. Clean the spray nozzle for blockages. For additional help, consider troubleshooting spin mop issues, as they can sometimes share similar problems, ensuring all mopping tools function effectively.
FAQs
Q: Can I use any cleaning solution in my Swiffer Power Mop?
A: We recommend using the cleaning solution made by Swiffer for the best results and longevity of your mop. Other solutions may clog the nozzle or damage the water tank.
Q: How often should I replace the batteries in my Swiffer Power Mop?
A: The frequency of replacing batteries depends on your usage. Keep an eye on the performance of your mop – if it starts to weaken, it might be time to replace the batteries.
Q: How much should I fill the water tank?
A: Follow the manufacturers’ instructions for your Swiffer Power Mop model. Overfilling or underfilling can affect the performance of the spraying function.
Q: How do I know if the trigger is damaged?
A: A broken or damaged trigger might have visible cracks, not return to its original position smoothly, or show resistance when pulled.
Q: Can I repair the Swiffer Power Mop myself if it’s not spraying?
A: The article provides simple troubleshooting tricks you can perform at home. However, if these steps don’t resolve the issue, it’s recommended to consult Swiffer’s customer service or a professional repair service.
Don’t forget to share this article if you find it helpful, and explore more tips and tricks on our page. Happy cleaning!


