Renovation or construction projects come with their fair share of hassles, and one such hassle is cleaning up drywall dust. Drywall dust is, essentially, a by-product of the sanding process during drywall installation. The dust particles are incredibly small and lightweight, which makes the cleanup process not only tedious but also hazardous if not done correctly.
Understanding Drywall Dust and Its Dangers
When working with drywall, the minuscule particles of gypsum and other materials that make up drywall dust can become airborne very easily. This poses a significant health risk if inhaled. Extended exposure can irritate your respiratory system, leading to coughing, chest tightness, and potentially more severe lung problems. Drywall dust can also cause irritation when it comes into contact with your skin or eyes.
To minimize these risks, there are a few precautions you can take:
- Wear protective gear: Include a mask that filters out fine particles and protective eyewear.
- Ensure proper ventilation: Keep the workspace well-ventilated to avoid having the dust linger in the air in a concentrated manner.
- Take breaks: It’s important not to overexert yourself during the cleanup. Allocate plenty of time for the task and take regular breaks to rest and recuperate.
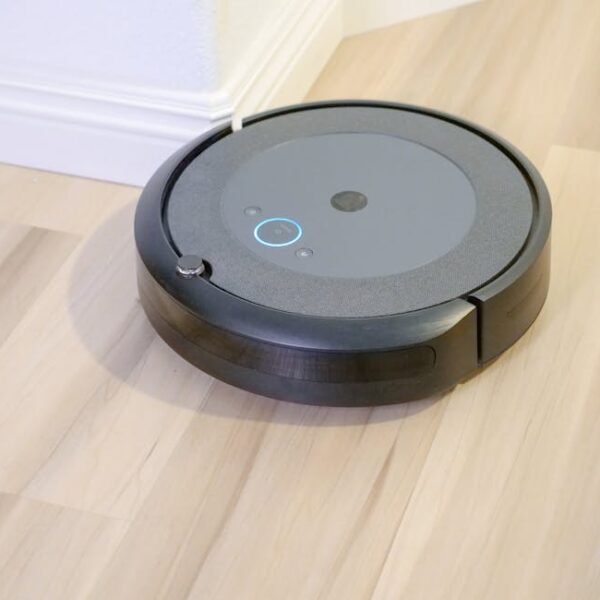
Choosing the Right Vacuum for Drywall Dust
Not all vacuums are created equal, particularly for a task like collecting fine drywall dust. The key lies in the type of filter and the vacuum’s inherent ability to deal with these finely ground particles. A vacuum with a High-Efficiency Particulate Air (HEPA) filter is a must. These filters can trap 99.97% of particles that are 0.3 microns in diameter. Also, make sure the vacuum has strong suction and a large dust collection area, so you don’t need to empty it frequently during the cleaning process.
If possible, select a vacuum equipped with a dust bag. This will make disposal of the drywall dust a significantly simpler and safer task by avoiding direct contact with the dust.
Preparing the Vacuum and Workspace
Before you even begin vacuuming, the preparation stage is crucial. Firstly, ensure the vacuum is ready for the task. Install or check the filter and dust bag, ensuring they are in good condition and appropriately positioned.
Next, prepare the workspace. This involves removing unnecessary items from the area and covering items that could get dirty or damaged during the cleanup. Furniture and other large items can be covered with thick plastic sheets to protect them. If possible, seal off any air vents in the room to prevent dust from spreading to other areas of the house.
Remember to position your vacuum in a spot that’s convenient for you but not directly under the drywall. This way, you avoid the risk of dust falling directly into the vacuum’s motor and potentially damaging it.
Techniques to Vacuum Up Drywall Dust Effectively
After prepping your vacuum and workspace, the next step is to vacuum the dust effectively. Consider using soft brush attachments – these can help loosen the dust without scratching the surfaces. Move slowly and methodically across the surface, as rushing through the process could potentially spread the dust into the air instead of sucking it up.
Avoid aggressive movements that may cause the dust to become airborne again. Instead, use gentle back-and-forth movements while vacuuming.
A pro tip to keep in mind is to vacuum from top to bottom. This ensures you’re not cleaning the same spot repeatedly and prevents cleaned areas from getting re-contaminated. Following the vacuuming, consider wet wiping and mopping the area for a more thorough cleanup.
Maintaining Your Vacuum and Safely Disposing of Drywall Dust
After the vacuuming process, regular maintenance of the vacuum is imperative to keep it functioning optimally. This includes cleaning the exterior, replacing filters and dust bags regularly, and checking for blockages in the hose.
In terms of disposal, it’s important to wear protective gear like gloves and masks when handling the dust bag. Always use a sealed container to prevent the dust from becoming airborne again. Disposal should be in compliance with local waste disposal regulations. Remember, it’s not just about cleaning the workspace but also disposing of the dust safely and responsibly.
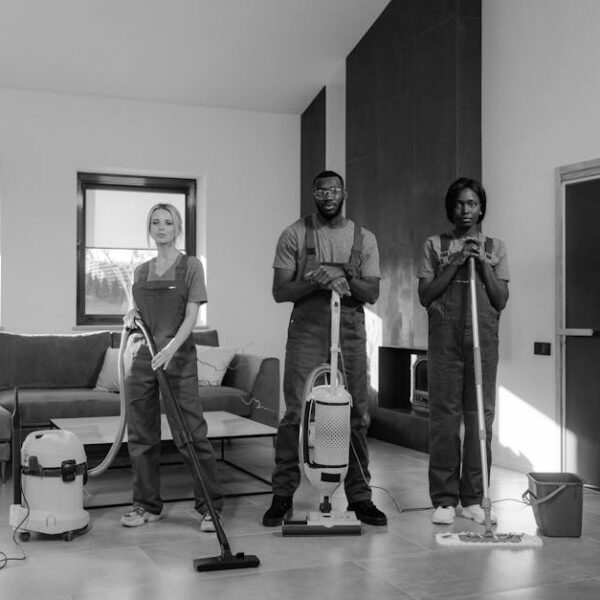
Weighing the pros and cons of doing it yourself versus hiring professional cleaners also deserves consideration. While DIY may save costs and give you more control, professional cleaners come with expertise and industrial-grade equipment that may result in a more thorough cleanup.
Considerations for DIY vs. Hiring Professionals:
| DIY | Professional Service | |
|---|---|---|
| Cost | Lower cost | Higher cost |
| Control | Full control of the process | Less personal control, relies on service quality |
| Expertise | Depends on your personal knowledge | Professionals usually have expertise and experience |
| Equipment | Depends on what is personally owned | Typically use industrial-grade equipment |
The process of cleaning up drywall dust can be intensive, but with the right tips and tricks in hand, you can ensure a safe and effective cleanup that leaves your home dust-free and ready for the next phase of renovation. Just remember, nothing trumps safety, so always take proper precautions as you dive into your cleaning routine!
Key Takeaway:
- Drywall dust, generated during renovation or construction projects, can pose health risks if not properly cleaned. Hence, presence of protective gear such as masks, ensuring good ventilation and taking regular breaks during the cleanup process are important.
- Choosing a vacuum specifically meant for drywall dust with features such as a highly efficient filter, strong suction power and a large dust collection capacity is crucial for an efficient cleanup.
- The vacuum and workspace must be prepared before the cleanup process begins. This involves installing or verifying the condition of the vacuum’s filter and dust bag, and preparing the workspace by removing or covering items that may get dirty or damaged.
- Use soft brush attachments and slow, methodical movements during vacuuming to maximize dust removal and prevent it from becoming airborne.
- Regular maintenance of the vacuum post-cleanup and safe disposal of drywall dust as per local regulations are critical to the overall cleanup success.
Do not let the daunting task of cleaning drywall dust scare you! With the right tools, knowledge, and safety measures, you can accomplish this task effectively while ensuring a safe environment. Trust yourself on this DIY journey.
FAQs
Q: How often should I replace the HEPA filter in my vacuum?
A: The frequency of replacing your HEPA filter depends on usability and manufacturer’s instructions, typically ranging from every six months to once per year. Always refer to your vacuum’s user manual or consult with the manufacturer for specific guidelines.
Q: What other safety gear can I wear while cleaning up drywall dust?
A: In addition to masks and goggles, consider wearing a long-sleeved shirt, gloves, and a hat or head covering to protect your skin and hair from drywall dust exposure.
Q: Can I use a regular vacuum for cleaning drywall dust if I cannot find a specialized drywall vacuum?
A: Your regular vacuum might not be equipped to handle fine drywall dust and could be harmed in the process. If a drywall vacuum isn’t an option, consider hiring professional cleaning services.
Q: Can wet mopping substitute for vacuuming drywall dust?
A: Wet mopping can be used as an additional cleaning step after vacuuming to ensure thorough dust removal. It could help in managing dust on the floors but might not be sufficient for dust on walls or ceilings.
Q: What should I do if I accidentally inhale drywall dust?
A: If you accidentally inhale drywall dust, move to a fresh air area immediately. Rinse your mouth and clean your nostrils with water. If you continue to feel discomfort or develop symptoms like persistent cough, seek medical attention promptly.
Feel free to share this article with anyone who might find it useful and explore more interesting posts on our website.